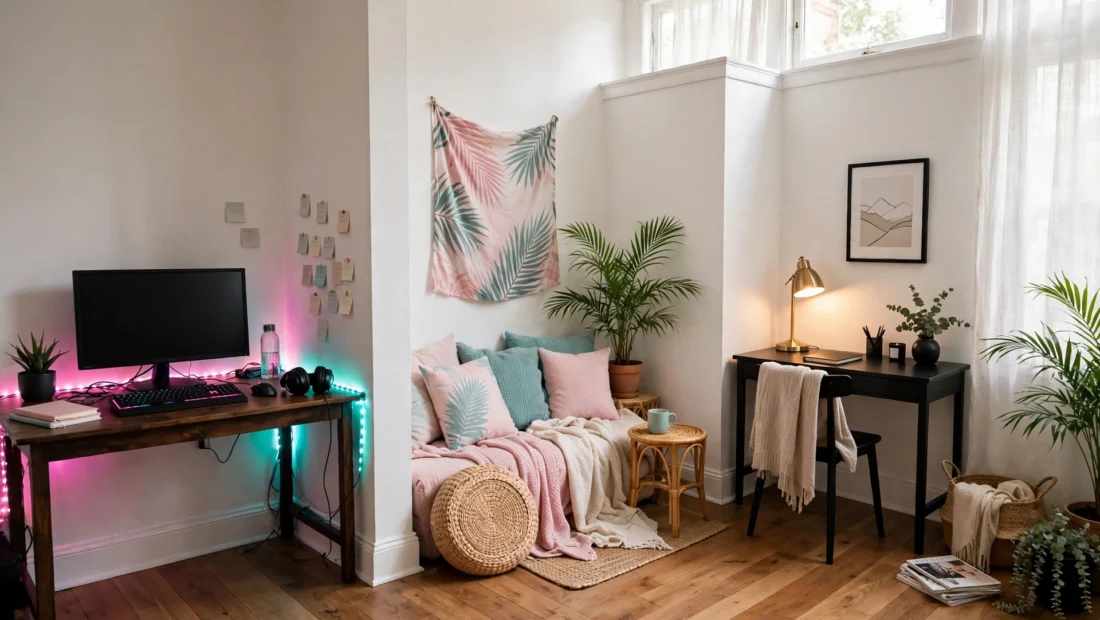
GTA 6 launches on Thursday, and the feeds are already full of setups. Scroll for five minutes and the same three rooms keep appearing: a corner glowing pink and teal, a bright pastel room that looks like 1980s Miami, and a near-black corner with one poster and almost nothing else. They look like three different games, but they are three versions of the same idea — a small rented room, dressed for launch week.
This guide is the roundup, not a fourth version. It names the three styles everyone is actually copying this week, says what each one costs in effort rather than money, gives the renter-safe version of each, and says which one suits a small room best. If you already read the individual guides on this site, this is the map that connects them. If you have not started yet, this is the fastest way to pick a style for launch day — and to pick one you can undo when you move out.
None of the three needs drilling, built-ins or a new room. Each one is a layer on top of the room you already have: light, colour, or the lack of it. The difference between them is not budget. It is temperament — and how much mess you are willing to live with after launch week.
Table of Contents
[Hide]- Style 1: the neon corner
- Style 2: the pastel Vice City room
- Style 3: the minimal black corner
- What each style costs in effort, not money
- Which style suits a small room?
- FAQ
- Which GTA 6 setup style is best for a small rented room?
- How do I get the Vice City neon glow without drilling?
- Can I do a pastel GTA 6 room without painting?
- What is the cheapest GTA 6 setup style?
- Do I need a new desk for any of these styles?
Style 1: the neon corner
This is the style most people picture when they picture a GTA 6 room, and it is the one flooding feeds fastest. A desk in a corner, a monitor, and a pink-and-teal glow behind it that turns a plain white wall into Vice City after dark. The glow does all the work: the desk can be ordinary, the chair can be ordinary, the room can be small, and the light still makes it look deliberate.
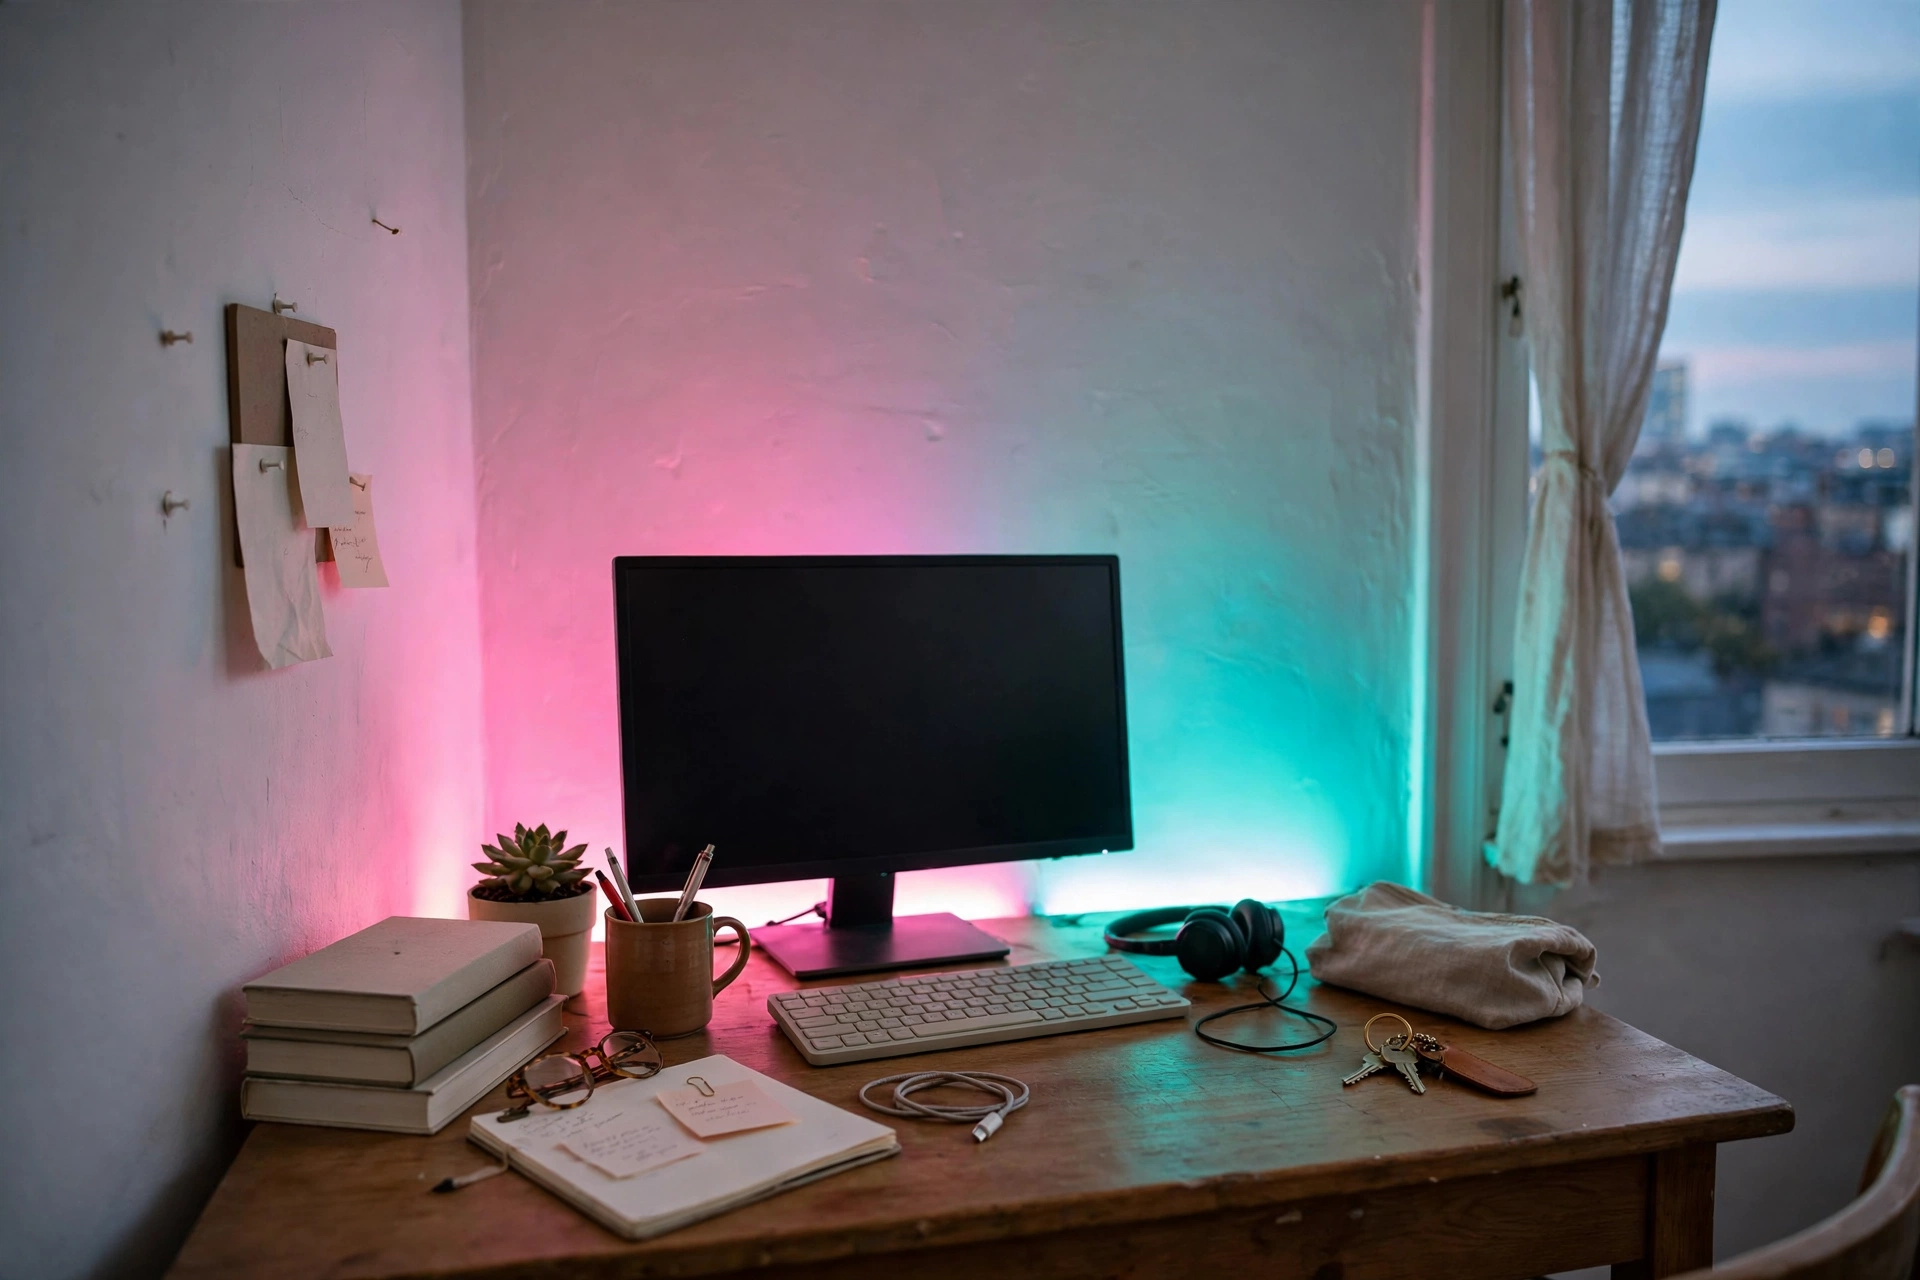
What it costs in effort is placement, not money. The trick is where the glow goes, not how bright it is: one strip behind the monitor, one along a shelf edge or the ceiling line, in a single pink or a single teal — never both at full brightness at once, and never a strip where you can see the strip itself. The glow should pool on the wall behind the desk, not shine into your eyes or across the screen. One colour, hidden behind something, is the whole effect. Ring the whole room and it stops looking like Vice City and starts looking like a fairground.
The renter-safe version is the peel-off version. LED strips with adhesive backing, stuck to the back of the desk or the back of a shelf, peel off cleanly if the wall underneath is smooth, clean and dry — and if you take them down slowly, warming the adhesive as you go. Never stick a strip directly to fresh paint, textured wallpaper or a wall you have not tested on a hidden patch first. The full version of this look — the palette, the placements that work, and how to remove it at move-out — is in the Vice City Neon guide, which this roundup does not repeat: one strip behind the desk is the starting point, the full install is the next step.
This style suits a small room best at night. In daylight the strips do almost nothing, and the corner looks like any other desk. After dark, the same corner is the whole room. If you play mostly in the evening, and you want the biggest change for the least furniture, start here.
Style 2: the pastel Vice City room
The second style is the opposite of the first: it works in daylight, and it barely needs light at all. Pastel pink, teal and cream — the colours of 1980s Miami — on cushions, a throw, a palm print and one chrome or glass object that catches the light. No glow, no dark room, no theme-park excess. It looks like a bright living room that happens to love Vice City, and it photographs well in the morning, which is why it is all over feeds this week.
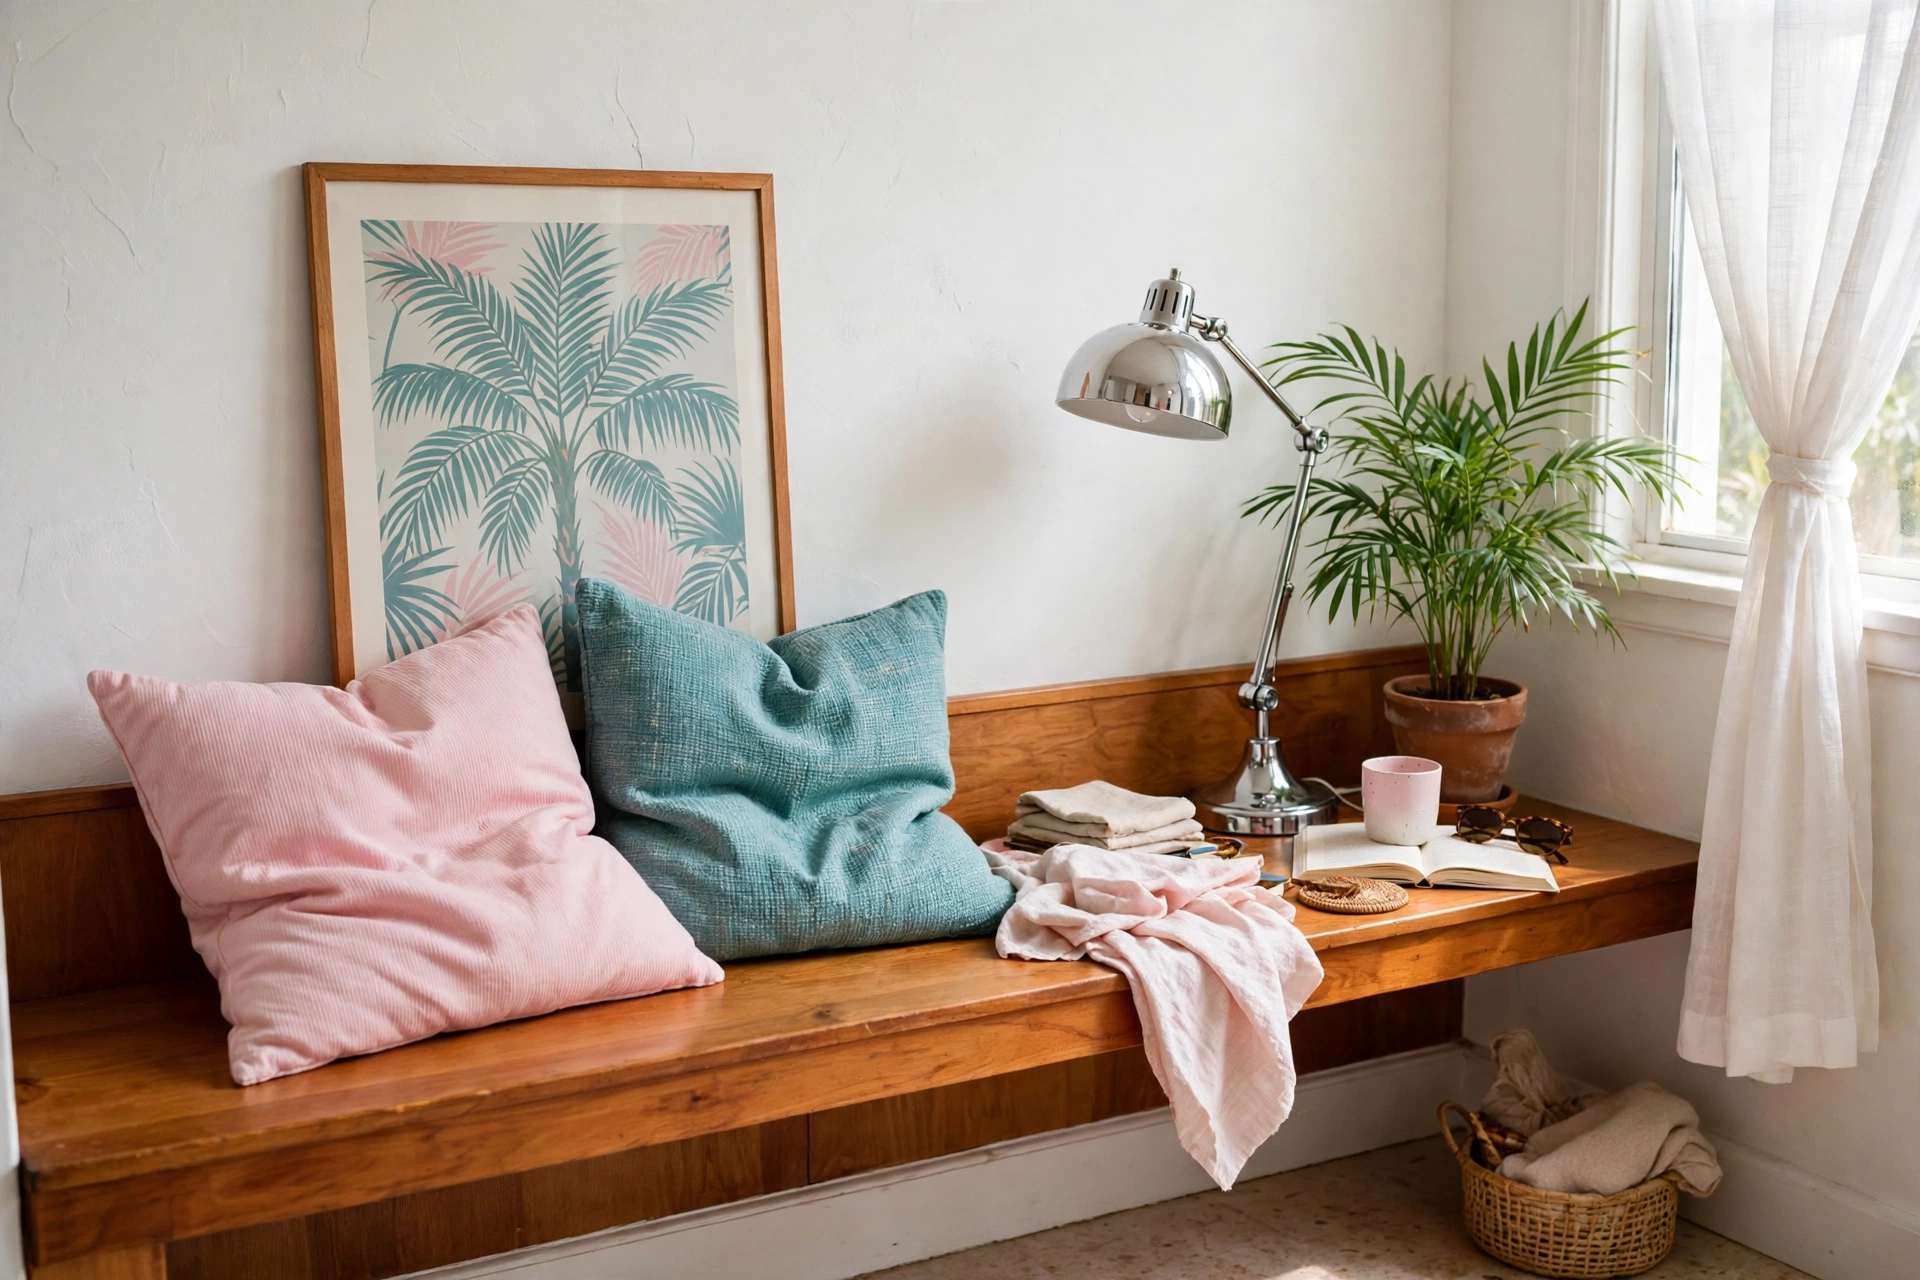
What it costs in effort is restraint. The rule is three colours and no more: pink, teal and cream, with everything else in the room staying neutral — white walls, warm wood, plain bedding or plain sofa fabric. Pick one statement piece, usually the wall or the bedding, and let the other two colours arrive in small things: a cushion, a throw, a print. The moment a fourth colour or a second statement wall appears, the room stops being pastel and starts being a costume. Thrifted pieces suit this style better than new ones, because a pastel room is built from textiles and prints, not from furniture — and textiles can be folded away when the season passes.
The renter-safe version is almost entirely soft furnishings. Cushions, throws, a rug and a framed print need no fixings at all, and a poster goes up with adhesive strips the same way every other poster on this site does. If you want one pastel wall, peel-and-stick wallpaper on a single wall is the removable way to get it — never paint, never a full room, and never on a wall you have not checked the wallpaper guide for first. The daytime version of this look, with the three-colour rule, the statement-wall choice and the thrifted-versus-new balance, is in the Retro Vice City guide.
This style suits a small room best in the daytime, and it suits a shared room best of all. It does not darken the room, it does not need the curtains closed, and it does not announce itself as a gaming room to anyone walking in. If the room has to be a living room, a bedroom and a gaming corner at once, start here.
Style 3: the minimal black corner
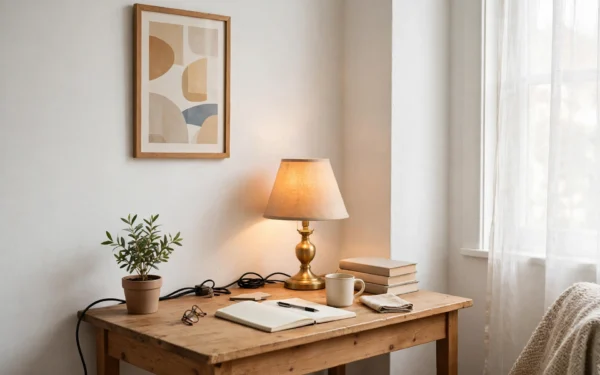
The third style is the quietest, and the one most often missed in the noise of launch week. Almost no colour, almost no decoration: a black desk or a black monitor stand, a black chair, one poster, one warm lamp, and a lot of empty wall. It looks like nothing, which is the point — the game is the colour, and the room gets out of its way.
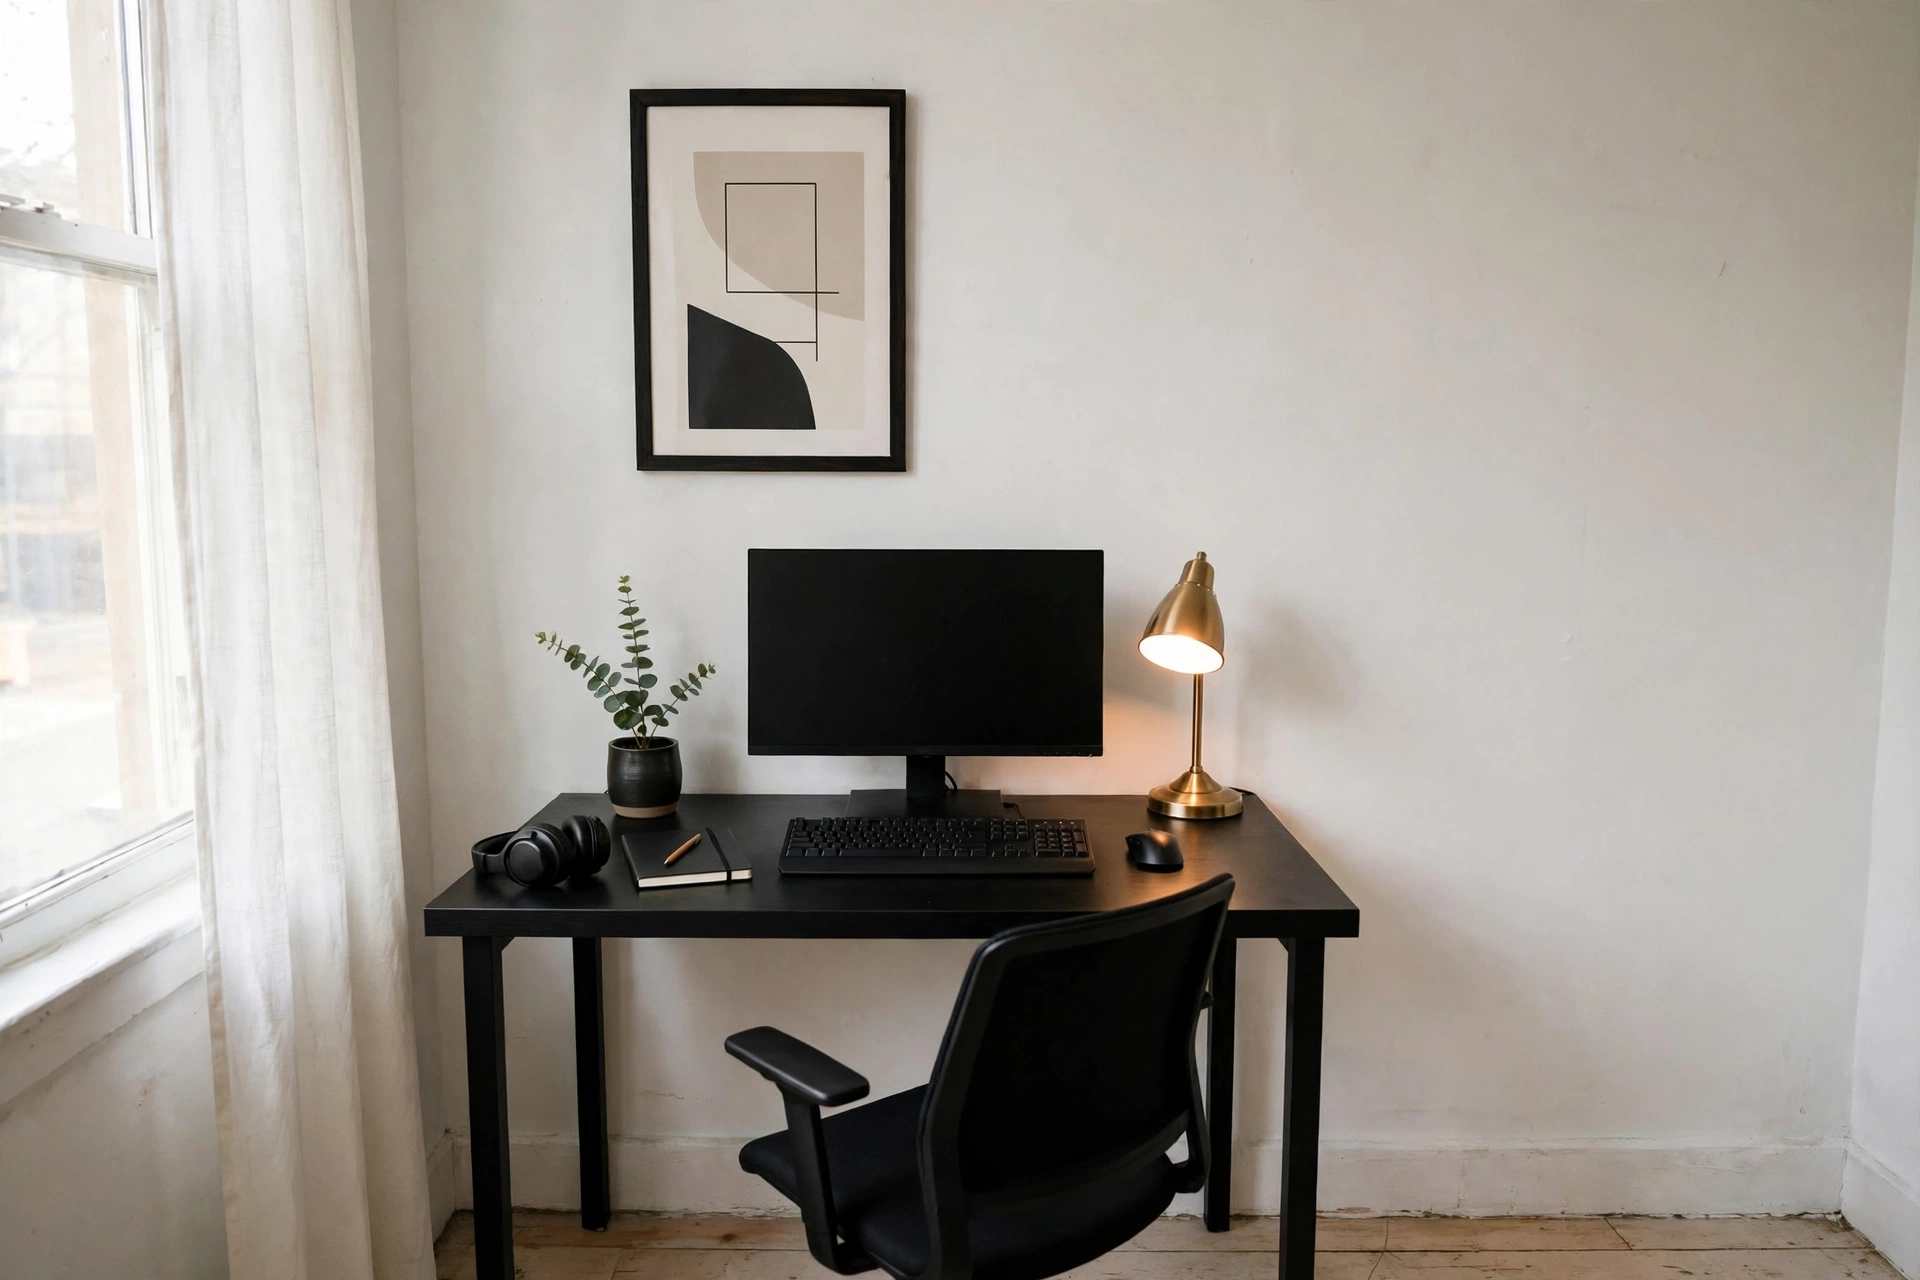
What it costs in effort is tidiness, not buying. A minimal corner only works if the desk is clear: screen, console or laptop, one controller, and nothing else on the surface. Every cable must be clipped out of sight, every spare object must live somewhere else, and the one poster must be hung straight, at eye level from the chair, with nothing competing with it. That discipline is harder than buying a strip or a cushion, because it has to be repeated every day — a minimal corner is a habit, not a purchase.
The renter-safe version is the easiest of the three, because there is almost nothing to fix to the wall. One framed poster on adhesive strips, one lamp on the desk, and cable clips along the back edge of the desk are the whole installation. Nothing is drilled, nothing is stuck to a wall in a way that cannot be undone, and the corner can be packed away in an evening. The budget corner guide on this site is the closest cousin to this style — the same discipline of using the desk you own and skipping everything you do not need — but this is the black, minimal version of it, not the warm, lit version.
This style suits the smallest rooms best, and it suits the longest sessions best. A small room with one dark corner and one warm lamp feels larger than the same room filled with light strips and colour, because the eye has somewhere restful to go. If your room is genuinely tiny, or you play for hours and want the room to stay calm, start here.
What each style costs in effort, not money
None of the three styles is expensive. That is the point of the roundup, and it is worth saying plainly, because launch week is when every shop and every feed tells you to buy the full setup before Thursday.
The neon corner costs one evening of placement: trying a strip behind the desk, moving it, trying it again, and learning where the glow falls. The money is one strip and one lamp you probably already own. The effort after that is removal, at move-out, done slowly.
The pastel room costs one afternoon of choosing: three colours, one statement piece, and the discipline to stop. The money is cushions, a throw and a print — things that fold away. The effort after that is almost nothing, because nothing is fixed to the wall.
The minimal black corner costs no money at all, and the most effort of the three: a cleared desk, clipped cables, and the daily habit of keeping it clear. The money is a poster frame and a few clips. The effort is ongoing, and it is the reason most minimal corners last a week.
Measured in money, they are all cheap. Measured in effort, they rank the other way round: minimal costs the most discipline, pastel costs the most taste, neon costs the most placement. Pick the effort you are actually willing to spend, not the look you like in a photograph. A neon corner you never place properly looks worse than a minimal corner you keep tidy.
Which style suits a small room?
If the room is small, the honest answer is that all three can work — but they work in different rooms, at different times of day, for different people.
Pick the neon corner if you play mostly after dark, you want the biggest visible change, and the room is yours alone in the evening. It needs the curtains closed and the lights low to earn its keep, and it needs a corner where the glow can sit behind the desk without washing the screen.
Pick the pastel room if the room is shared, or if it has to be a living room and a bedroom as well as a gaming corner. It works in daylight, it needs no darkness, and it is the easiest of the three to live with after launch week — fold the textiles away and the room is itself again.
Pick the minimal black corner if the room is genuinely tiny, or if you play for long sessions and want the room to stay calm. It is the only style that makes a small room feel larger, and the only one where the game, not the room, supplies the colour.
If you still cannot choose, choose the one you can undo fastest. All three are removable, but the pastel room undoes in an afternoon, the neon corner in an evening, and the minimal corner in an hour. In a rental, reversibility is a feature, not a footnote — and launch week is a bad time to commit to a look you cannot take back.
The full guides behind each style are on this site: the corner setup that holds them all together, the neon guide for the glow, and the pastel guide for the daytime look. This roundup is the map. The guides are the routes.
FAQ
Which GTA 6 setup style is best for a small rented room?
All three can work, but they suit different rooms. Neon suits evening play in a room that can go dark; pastel suits shared rooms and daylight; minimal black suits the tiniest rooms and the longest sessions, because it makes a small room feel larger. Pick by when you play and who shares the room, not by the photograph.
How do I get the Vice City neon glow without drilling?
Use peel-off LED strips stuck to the back of the desk or a shelf, never directly to fresh paint or textured wallpaper, with one colour hidden so you see the glow and never the strip. The full placement and removal method is in the Vice City Neon guide.
Can I do a pastel GTA 6 room without painting?
Yes. Pastel pink, teal and cream arrive through cushions, a throw, a rug and a framed print — no paint, no fixings. One pastel wall, if you want it, is a peel-and-stick wallpaper job on a single wall, covered in the wallpaper guide and the Retro Vice City guide.
What is the cheapest GTA 6 setup style?
In money, the minimal black corner — a poster frame and a few cable clips, using the desk you own. In effort, it is the most expensive, because it needs the desk kept clear every day. Neon and pastel cost a little more in money and less in daily discipline.
Do I need a new desk for any of these styles?
No. All three styles are built on the desk the room already has. The corner guide and the L-shaped desk guide exist for readers who genuinely need a different desk; the budget corner guide shows the same reuse logic in its warm, lit form. Do not buy a new desk to get a look — move the one you have first.