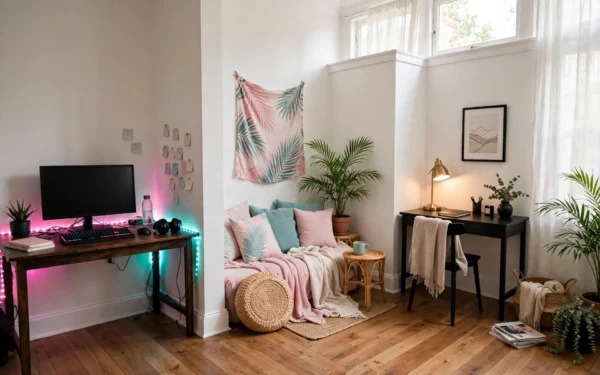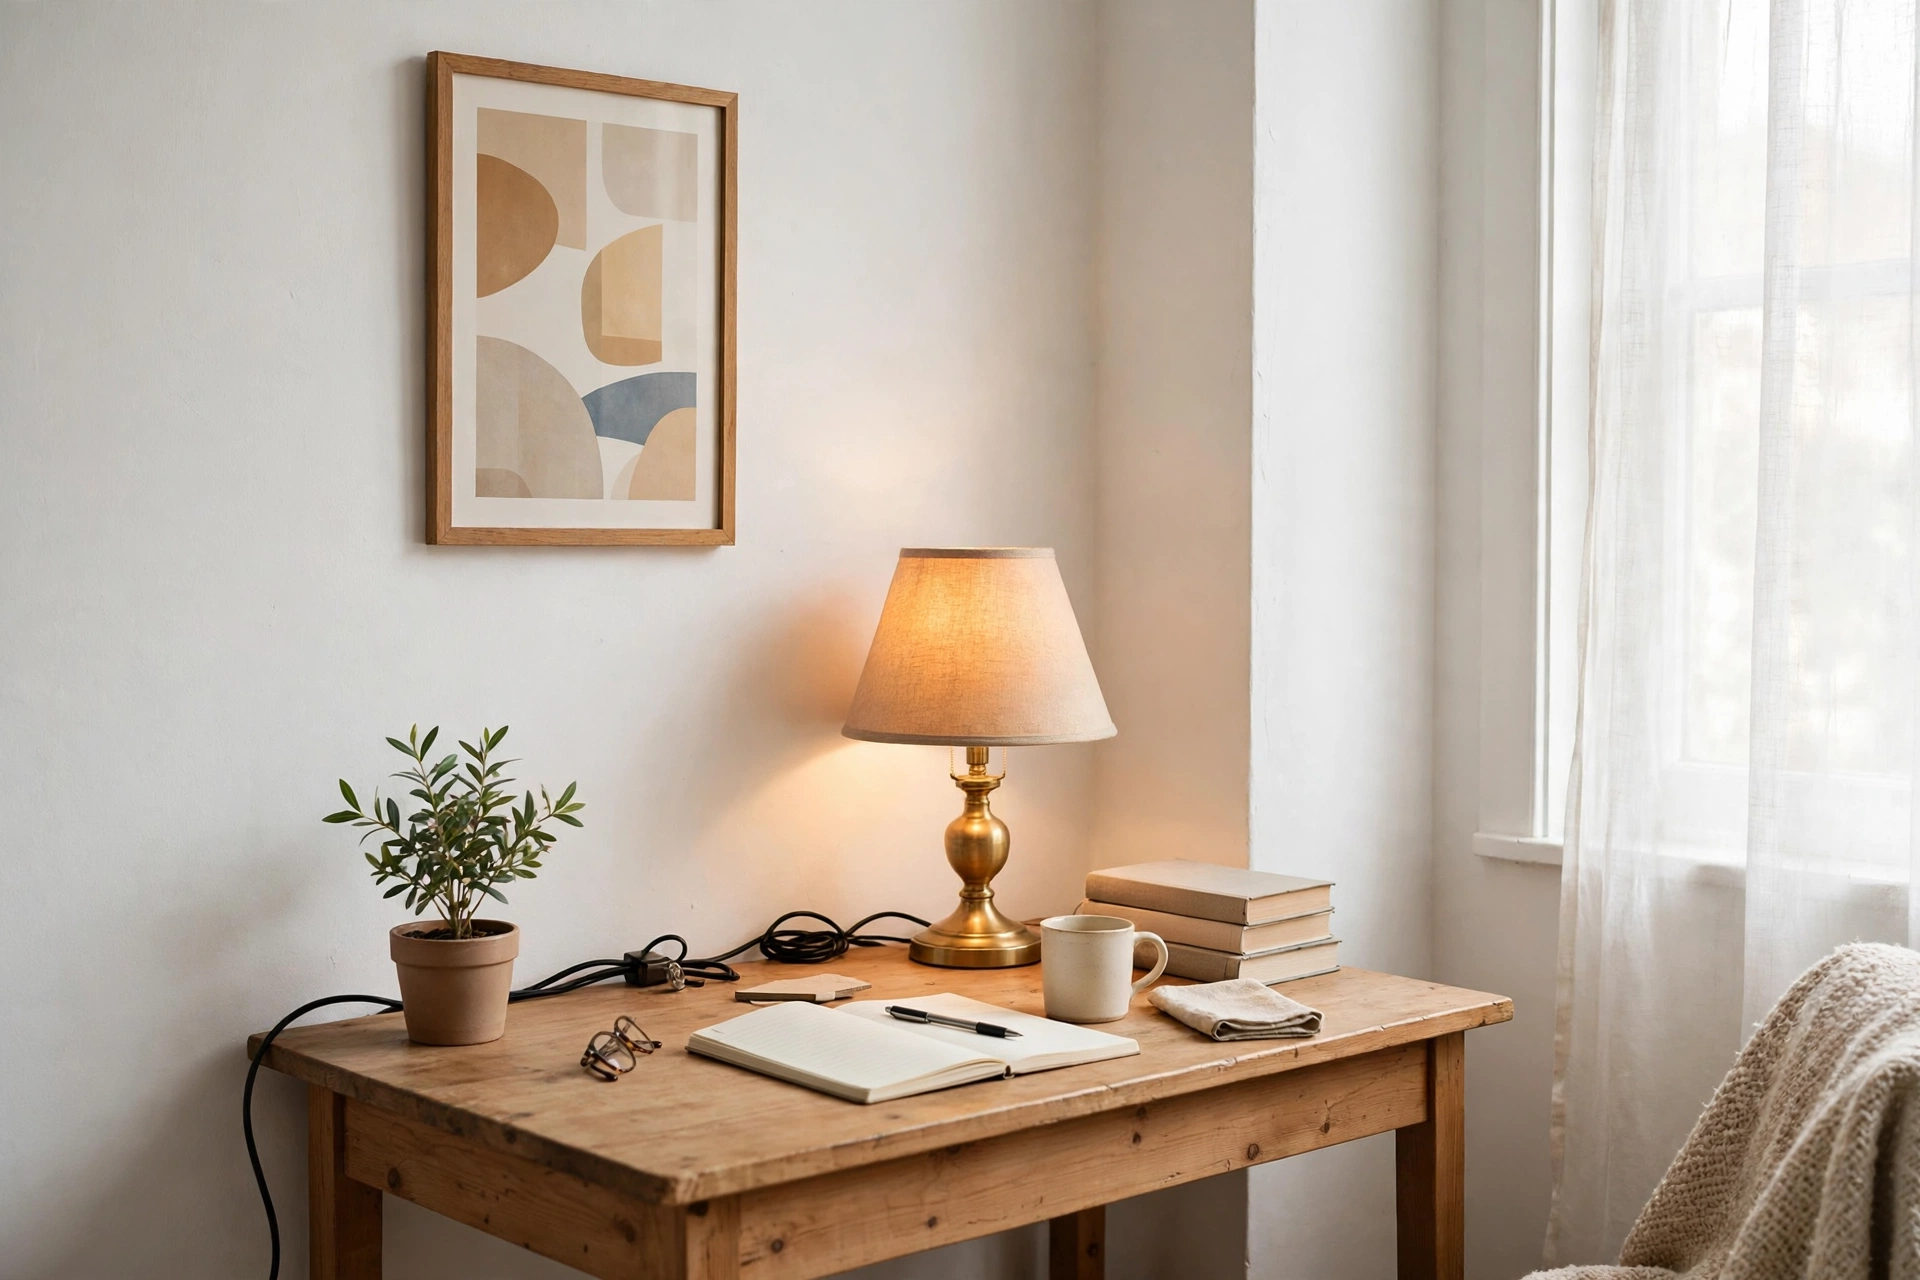
GTA 6 launches on Thursday, and the temptation is to rebuild the whole room before then: a new desk, a new chair, a wall of LED strips, a poster collection. In a small rented room, that is the most expensive way to get the least improvement — and most of it cannot come with you when you move.
This guide does the opposite. It builds the corner from what the room already has: the desk you own, the lamp you own, one removable light and one poster. Nothing is drilled, nothing is built, nothing is stuck to the wall that cannot come off. The money goes to atmosphere, not furniture — and the whole thing can be done in one evening, before launch night.
If you want the full version of this corner, with a proper desk plan and a full neon treatment, those guides exist. This one is for the reader who wants the feeling on Thursday without buying a new room to get it.
Table of Contents
[Hide]- Start with the desk you own
- Light is the cheapest upgrade
- One wall, one poster
- Cable tidy with clips
- What to skip
- FAQ
- Can I build a GTA 6 gaming corner without buying a new desk?
- What is the cheapest upgrade for a gaming corner?
- How do I hang a poster in a rental without drilling?
- How many posters should a budget gaming corner have?
- What should I skip when setting up a gaming corner on a budget?
Start with the desk you own

The desk is the one thing you do not need to buy. Almost every rented room already has a desk, a table or a surface that can be one: a writing desk, a dining table end, a folding table, even a sturdy shelf at the right height. The test is not what it was sold as. The test is whether a monitor, a console or a laptop, and your hands, all fit on it at once without anything hanging off the edge.
Clear it completely first. Take everything off, wipe it down, and put back only what the corner needs: the screen, the console or laptop, one controller, and one small thing that makes it yours — a plant, a mug, a framed photo. Everything else lives somewhere else for launch week. A cleared desk reads as a gaming corner; a crowded desk reads as a desk you happen to play games at. The difference costs nothing.
Then place it by the light you already have. The best free upgrade in a small room is position, not furniture: near a window for daylight sessions, with the screen facing away from the window so the sun never sits behind it and glares across it. If the only free wall is an interior one, that works too — put the desk so you face into the room rather than into a corner, because facing a wall for a long session makes a small room feel smaller. Do not buy a new desk to get a better angle; move the one you have, try it for an evening, and move it again if it is wrong. Rearranging is free and it is reversible.
Check the chair you already own the same way. It does not need to be a gaming chair — it needs to let you sit with your feet flat, your screen at eye level and your shoulders down. A cushion on the seat, a folded throw behind your back, and the screen raised on a stack of books will do more for a long launch night than a new chair you have not sat in. If the screen is too low, raise it; if it is too high, lower the chair. Eye level first, everything else second.
The rule for this whole article is simple: if the room already owns it, use it. The desk, the chair, the lamp and the shelf are the corner. What you add should be small, removable and cheap — which is where the next section starts.
Light is the cheapest upgrade

Light is the single cheapest way to change how a room feels, and it is the one upgrade worth spending on here — because one good light does the work of a whole new setup. You already own the most important part: a lamp. A warm desk lamp, a floor lamp you move closer, or even a bedside lamp borrowed for the week will change the corner more than any new furniture would.
Start with the lamp you have. Put it on the desk or just behind it, on the side opposite your dominant hand, and switch the bulb to warm white if it is not already. Cool white light makes a small room feel like an office; warm light makes the same room feel like evening in Vice City. The lamp should light the desk and the wall behind it, not shine into your eyes or onto the screen. If the shade points the light down onto the desk, you have it right. If it points at the ceiling, angle it down or move it closer — the glow should pool on the desk, not wash the whole room.
Then, and only then, add one removable light. One short LED strip behind the desk or behind the monitor, in a single warm colour or a soft pink, is enough. It hides the back edge of the desk, gives the wall a glow, and makes the screen look like it belongs to a setup rather than a workspace. One strip, one colour, hidden behind something so you see the glow and never the strip itself. That is the whole trick, and it is the same trick the full neon guide uses at larger scale — this is the one-strip version of it, not a second attempt at the full treatment.
What not to do is as important as what to do. Do not ring the whole room in LED strips, do not put a strip on every shelf, and do not mix three colours at once. A small room with light on every edge feels like a fairground, and every extra strip is another thing to stick to a wall you do not own. One lamp you already have, one strip you can peel off: that is the budget. If the room still feels dark, move the lamp before you buy a second light — position is free, and a lamp in the wrong place will always lose to a lamp in the right one.
For the fuller version of rental lighting — layering a room with warm light, and what to do when the room has only one ceiling bulb — the cozy ambient lighting guide covers it in detail.
One wall, one poster

A gaming corner needs one thing on the wall, and one is enough. Pick a single poster — a map, a piece of key art, or a print in the colours of the game — and give it the wall above or beside the desk. One framed poster, hung straight, at eye level when you are sitting down, does more than a wall full of prints. It gives the corner a focal point, it tells anyone walking in what the corner is for, and it costs one frame and one poster.
Hang it without drilling, the same way the rest of this site hangs things: adhesive strips or hooks rated above the piece’s weight, on a smooth, clean, dry wall, with two mounting points so it stays level. A light frame with a poster inside is well within what adhesive strips can hold; a heavy framed piece is not, and should be leaned on the desk or a shelf instead. Never trust adhesive on textured walls or on paint less than three weeks old, and test one strip on a hidden patch first. The no-nail wall decor guide covers the weight limits and the removal method in full.
The discipline is in what you do not hang. A poster wall — a grid of prints, a collage, a row of frames — is a different article, and it is a different evening’s work. This corner has one poster because the budget is one poster, and because a single image on a white wall reads as a choice while a half-finished grid reads as a plan you gave up on. If you already own more prints, keep them for the poster-wall version later; do not let them crowd this one.
Frame it simply. A plain frame in black, white or light wood suits any poster and any room, and it is the cheapest part of the whole corner. Put the frame at eye level from the chair, not from standing height — you will look at it sitting down, and a poster hung for a standing person sits too high for a gaming corner. Step back, sit down, and check it from the chair. If you have to tilt your head up, lower it.
Cable tidy with clips
Cables are the thing that makes a budget corner look unfinished, and they are the cheapest thing to fix. You do not need trunking, a cable tray or a new desk with built-in channels. You need a handful of adhesive cable clips, and ten minutes.
Start at the screen and work backwards. Gather the cables that run from the monitor and the console into one loose bundle, and clip them to the back edge of the desk or to the wall behind it, so they drop straight down instead of sprawling across the desk. One clip every stretch of cable that would otherwise hang or wander is enough — usually three or four clips for a whole corner. Leave slack at each end: a cable pulled tight will tug at its socket, and a cable with a gentle loop in it will sit quietly for years.
Then deal with the floor. The power strip is the part everyone trips over, so put it where feet do not go: behind the desk leg, against the wall, or under the desk on a small shelf or a hook. Run the charging cable for the controller up the back of the desk leg with one more clip, so it hangs within reach and never crosses the floor. If a cable must cross open floor, run it along the skirting board and clip it there — never diagonally across a walkway.
Do not hide cables inside the wall, do not tape them to the floor, and do not buy a cable-management kit with parts you will never use. Clips are removable, cheap and invisible once the desk is pushed back. When you move out, they peel off and the wall is as you found it. That is the whole test for everything in this article: if it does not come off cleanly, it does not belong in a rental.
What to skip
A budget corner is defined as much by what you skip as by what you do, and launch week is when the skipping matters most — because every shop and every feed is telling you to buy the full setup before Thursday. Here is the short list of things to skip, and why each one is a trap in a small rented room.
Skip the new desk. The corner article and the L-shaped desk guides exist for readers who genuinely need a different desk, and the DIY guide exists for readers who want to build one from two tops. This corner does not need either, because the desk you own already passed the test in the first section. A new desk is the most expensive, hardest-to-move object in the room, and it solves a problem you do not have.
Skip the new chair. A gaming chair is a large, heavy, single-purpose object in a room that has to do everything else for the rest of the year. The cushion, the throw and the screen height from the first section will carry you through launch week, and you can decide about a chair in December, when you know how the corner actually gets used.
Skip the full LED kit. The neon guide shows how to do the after-dark glow properly, with strips placed for effect and removed cleanly. Buying the kit before you have lived with one strip is buying the answer before you know the question. One strip behind the desk, as above, tells you whether you want more — and most small rooms do not.
Skip the poster collection. One poster is the look; a collection is a second project. Buy the prints later, when the corner has earned them, and hang them as a poster wall in their own evening rather than as an afterthought on launch night.
Skip anything that needs a drill, a screw, a wall plug or a permanent fix. If it cannot be undone in five minutes with no mark left behind, it is not a budget upgrade — it is a risk to the deposit, and it is not worth it for a launch-week look.
What is left after all that skipping is the corner itself: a desk you already own, a lamp you already own, one strip, one poster, a few clips — and a room that is ready on Thursday.
FAQ
Can I build a GTA 6 gaming corner without buying a new desk?
Yes. Use the desk or table the room already has, clear it completely, and put back only the screen, the console or laptop, and one controller. Position matters more than furniture: near a window with the screen facing away from it, or facing into the room rather than into a corner.
What is the cheapest upgrade for a gaming corner?
Light. A warm lamp you already own, moved to the desk, changes the room more than any new furniture. After that, one short removable LED strip behind the desk in a single colour is enough — one strip, one colour, hidden so you see the glow and never the strip.
How do I hang a poster in a rental without drilling?
Use adhesive strips or hooks rated above the frame’s weight, on a smooth, clean, dry wall, with two mounting points. A light framed poster is well within what adhesive strips can hold; a heavy frame should be leaned on the desk or a shelf instead. Never use adhesive on textured walls or paint less than three weeks old.
How many posters should a budget gaming corner have?
One. A single framed poster above or beside the desk, at eye level from the chair, gives the corner a focal point. A poster wall is a separate project — do it as its own evening later, rather than crowding this corner.
What should I skip when setting up a gaming corner on a budget?
A new desk, a new chair, a full LED kit, a poster collection, and anything that needs drilling or a permanent fix. Each one is expensive, hard to move, or a risk to the deposit — and none of them is needed for the corner to feel ready on launch night.