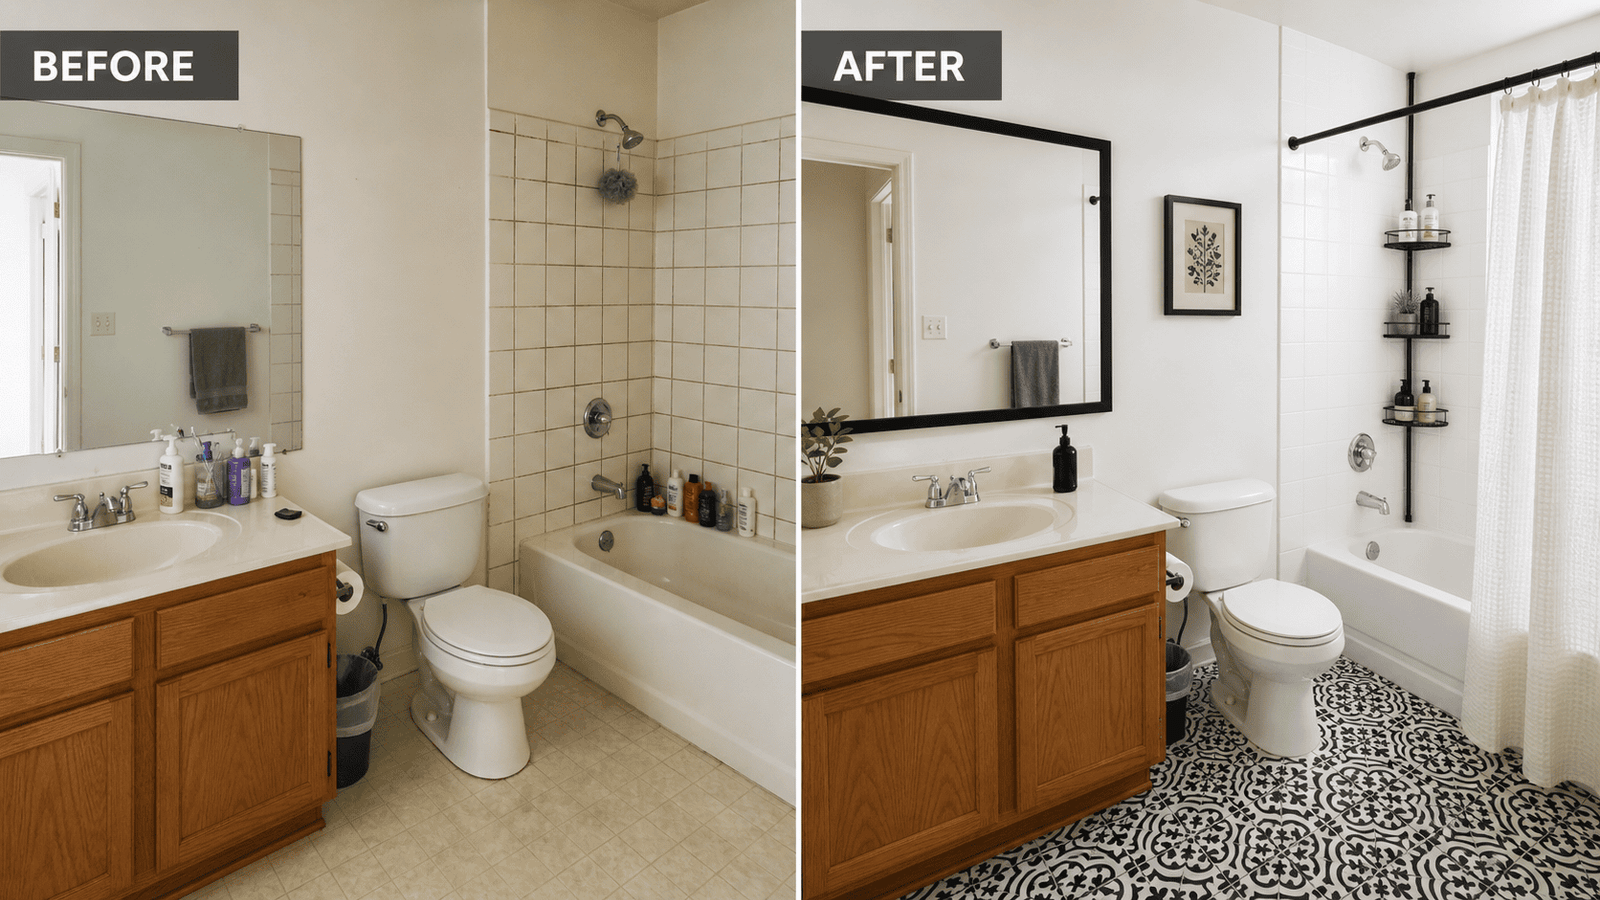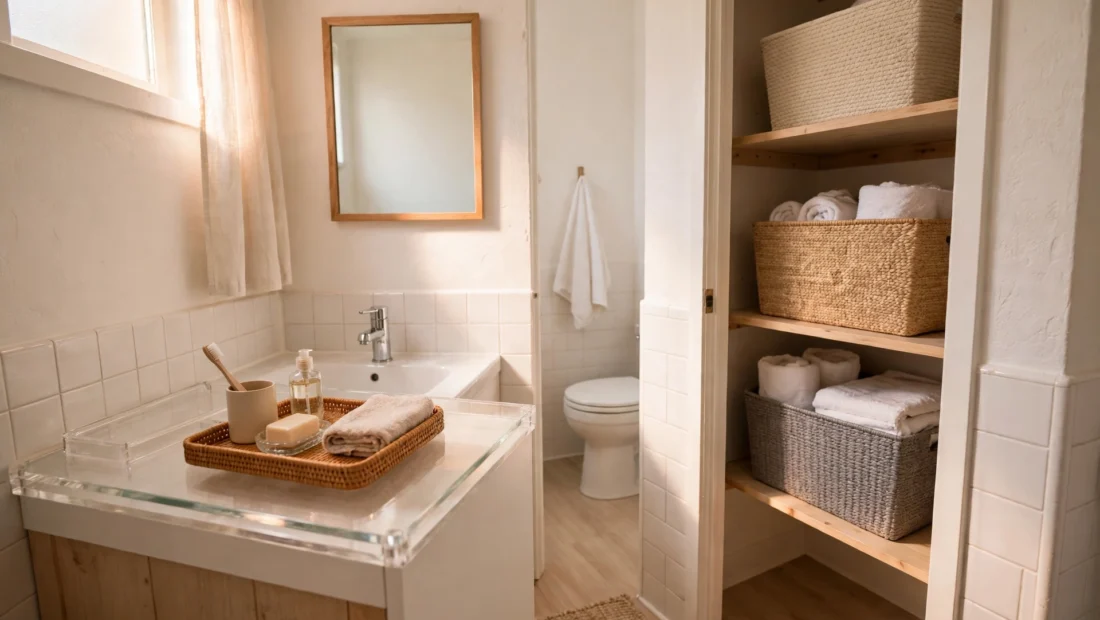
A tiny rental bathroom is rarely short of things. It is short of places to put them — and every item that has nowhere to live ends up on the counter, on the back of the toilet, or balanced on a windowsill.
The fix is not a remodel, and it is not drilling new shelves into walls you do not own. Tiny bathroom storage ideas that work for renters start with what you already have: the closet, if you have one, the medicine cabinet, and the counter. Get those three working, add only removable storage where it genuinely helps, and the bathroom starts to feel bigger even though nothing about the room has changed.
This guide is about storage and organisation. If you want to change how the bathroom looks, that is a different job — see the low-budget rental bathroom makeover guide linked below. Here, the question is simpler: where does everything go, and how do you get it back without a daily hunt?
Table of Contents
[Hide]- The tiny-bathroom storage problem: what is actually taking up space
- Bathroom closet: deep shelves, bins and labels
- Medicine cabinet: organising what is already there
- Counter: what stays out, what goes away
- Over-door and over-toilet options (no-drill, lease-checked)
- DIY counter organizers renters can make and take
- A 30-minute tiny-bathroom reset
- FAQ
- How do I store things with no closet at all?
- Can I use adhesive hooks and strips in a rental bathroom?
- What should I keep in the medicine cabinet?
- How do I keep a tiny bathroom tidy when I share it?
The tiny-bathroom storage problem: what is actually taking up space
Before you buy anything, take everything out of the bathroom — or at least off the counter and out of the cabinet — and sort it into four groups:
- Every day: toothbrush, toothpaste, face wash, deodorant, medication you take daily, hairbrush. These need to be reachable in seconds, with wet hands, half awake.
- Most days: shampoo, conditioner, skincare you rotate, shaving supplies, contact-lens care.
- Weekly or less: cleaning supplies, spare toilet rolls, first-aid items, hair tools you use occasionally, nail care.
- Does not belong here: anything you moved into the bathroom because it had nowhere else to go, duplicates, empties, and products you tried once and did not like.
Most tiny bathrooms feel crowded because the weekly-or-less group and the does-not-belong-here group are sitting where the every-day group should be. Move the first group to the front and the top, move the rest further back or out of the room entirely, and you have already solved half the problem — before spending anything.
One more rule that saves a lot of frustration: one home for each category. If cotton pads live in two places, you will never know which place has them. Pick a spot, label it if it helps, and put things back there every time.
Bathroom closet: deep shelves, bins and labels
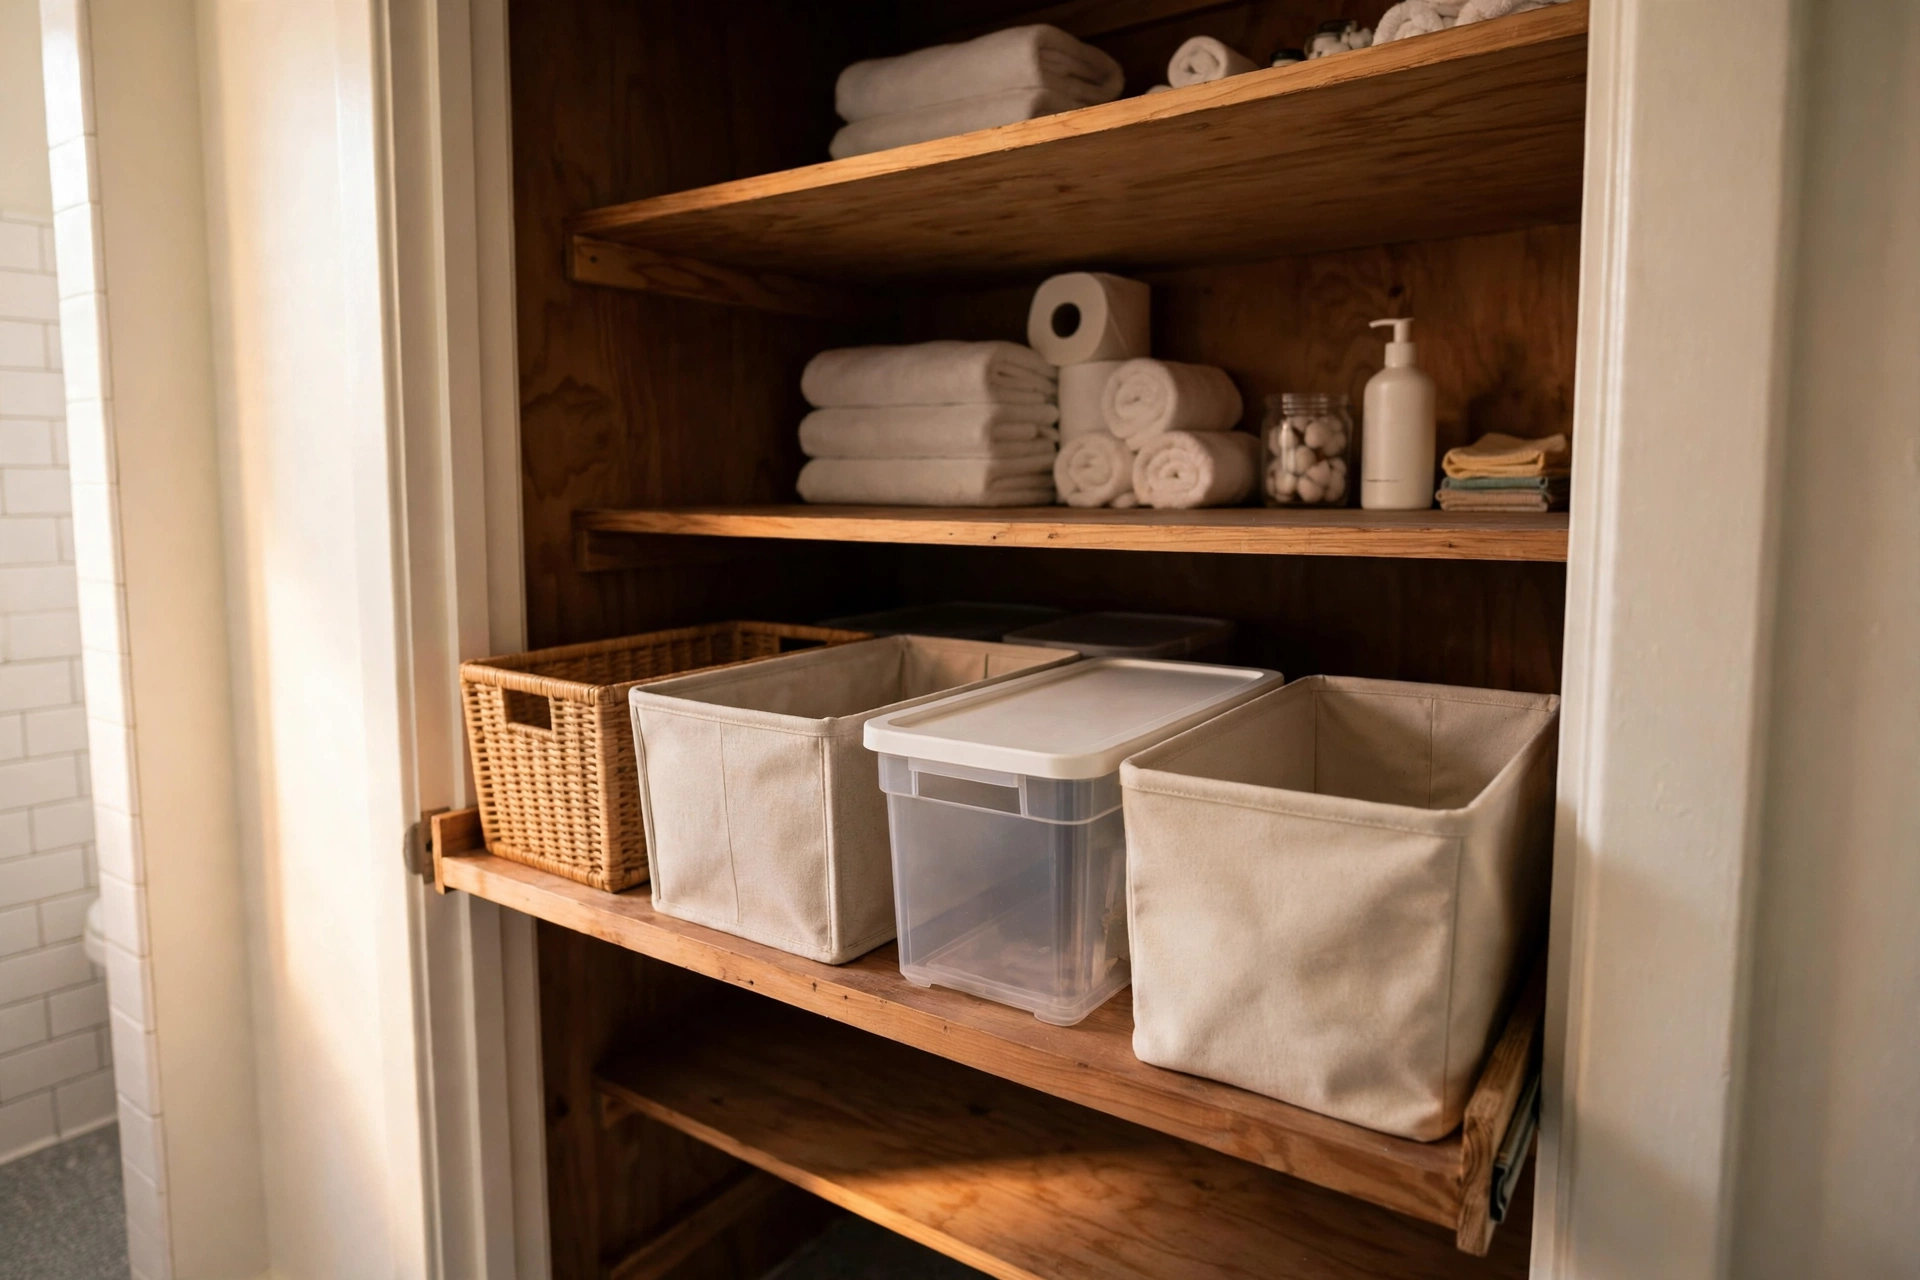
If your bathroom has a closet — even a narrow one — it is the best storage in the room, and deep shelves are its biggest problem and its biggest opportunity. Deep shelves hold a lot, but the back half disappears. The answer is bathroom closet organization that treats each shelf like a drawer you can pull out.
How to organize a bathroom closet with deep shelves:
- Zone each shelf by person or by job. Top shelf: spares and stock (spare toilet rolls, unopened refills). Middle shelves: everyday categories, one per bin. Bottom shelf: heavy or bulky items, such as cleaning supplies in a caddy, so you are not lifting them down from above your head.
- Use bins as drawers, not as boxes. A bin on a deep shelf works when you can slide the whole bin out, take what you need, and slide it back. One category per bin — hair care, skincare, first aid, cleaning — with a label on the front edge so you can see it without pulling every bin out.
- Put the front row to work. The front few inches of a deep shelf are your everyday zone. Keep daily items there, in a small open bin or tray, and push spares to the back. When you open a new bottle, it moves from the back stock to the front bin; that one habit stops the “I know I bought one” search.
- Use the door, if the closet has one. A removable over-door rack or hanging pockets on the inside of the closet door can hold flat items — hair tools in heat-resistant holders, small bottles, cleaning cloths — but check the door closes fully and the rack does not damage the door or its hinges. Remove it when you move out, and check for marks before you hand the keys back.
- Label, even if you live alone. Labels are not decoration. They are what stops a tidy closet from sliding back into a pile in three weeks, especially if you share the bathroom. A label maker, a strip of masking tape, or a removable label all work; the point is that anyone opening the closet can see where things belong.
What not to do in a bathroom closet: store medicines or anything heat- or moisture-sensitive right next to a steamy shower if the closet gets damp, and do not stack heavy items on top of light ones in an unlabelled pile. If the closet smells musty or shows damp, that is a maintenance issue to raise with your landlord, not something to solve by packing more bins into it.
Medicine cabinet: organising what is already there
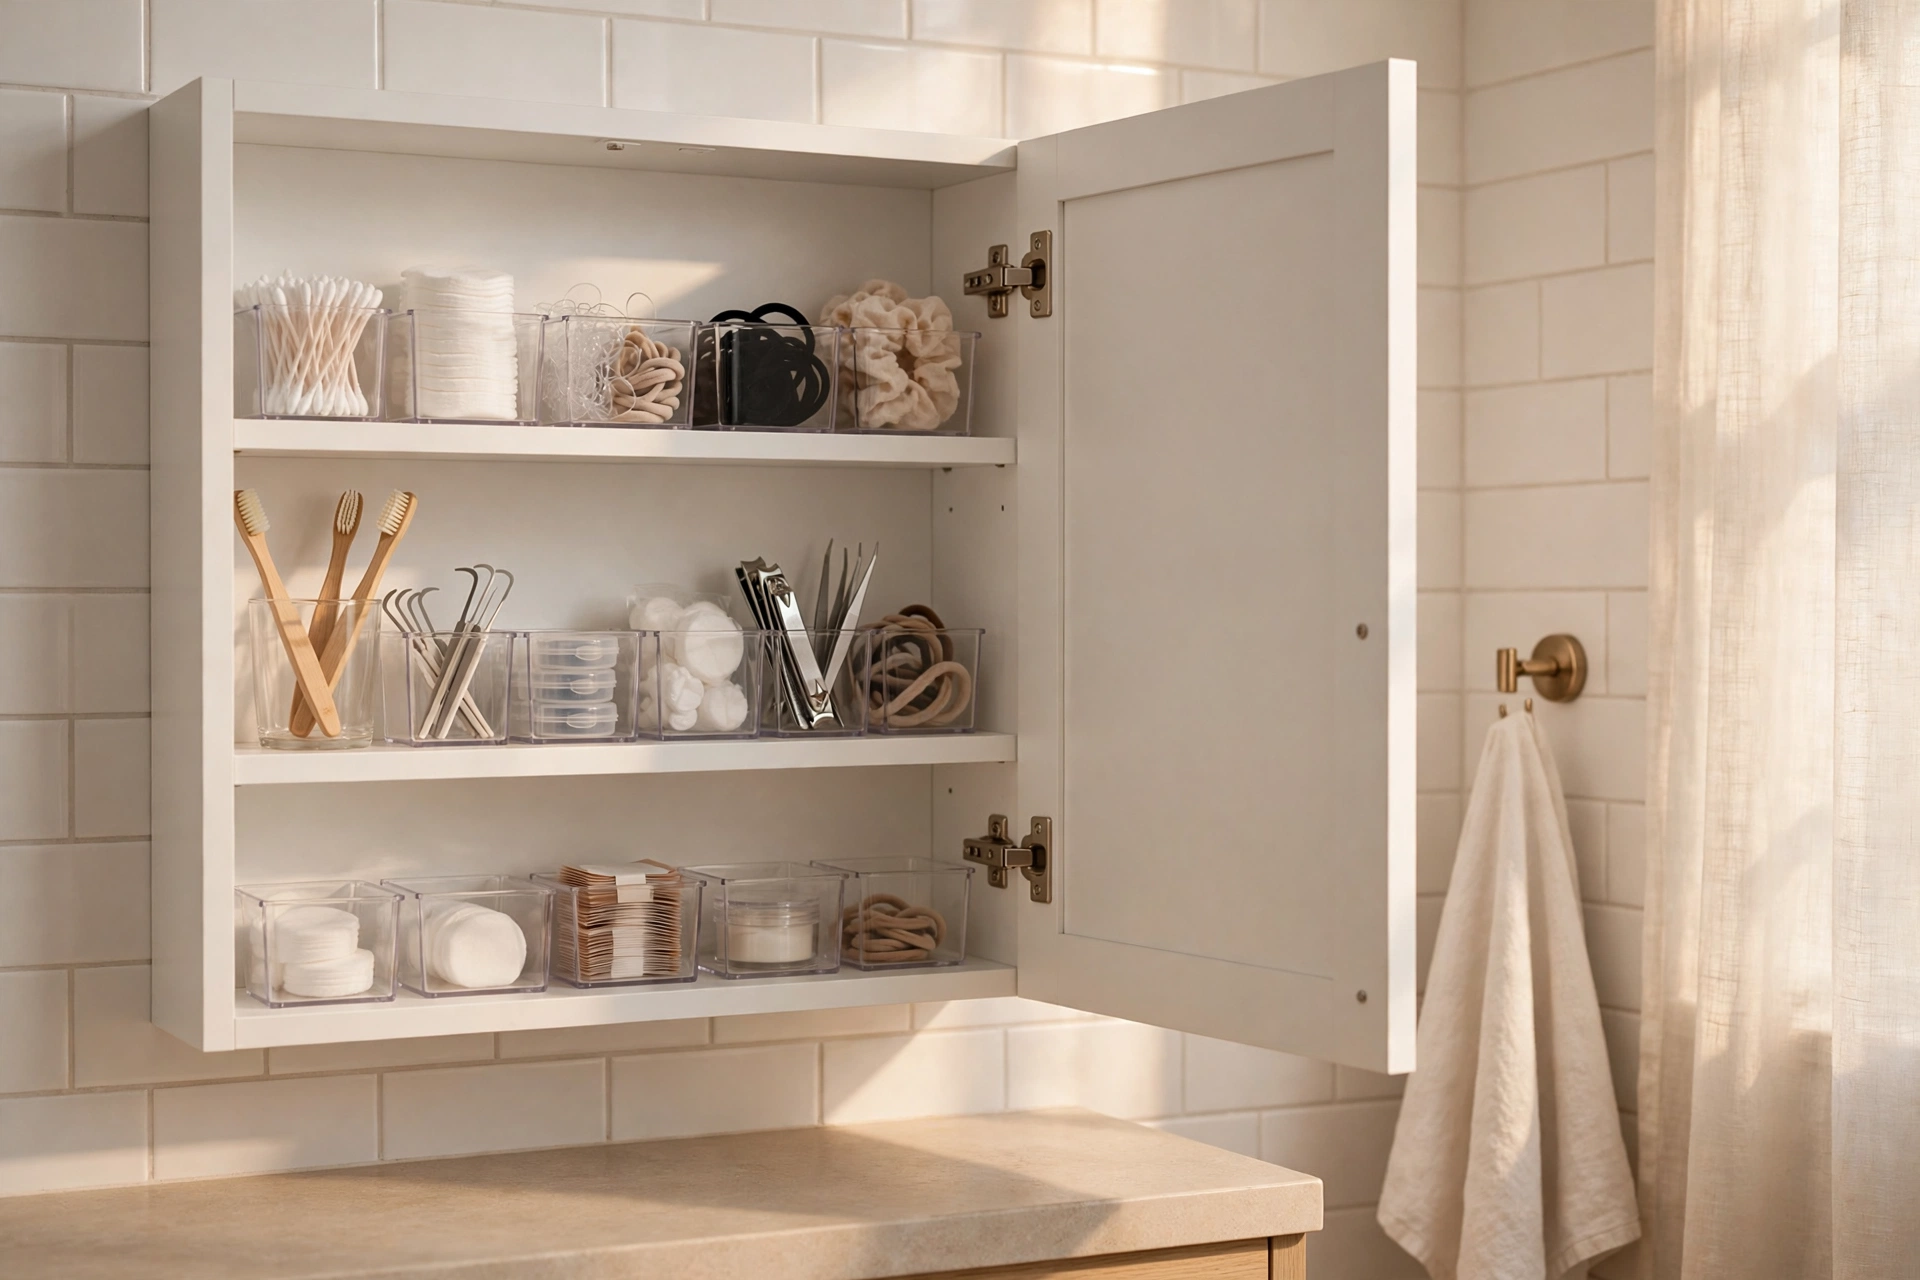
The medicine cabinet is the most underused storage in a tiny bathroom, because it is small, shallow, and usually full of things nobody has touched in months. Medicine cabinet organizing ideas work best when you treat the cabinet as prime real estate: only daily and most-days items earn a place there.
Start by emptying it completely and checking dates. Expired medicines and old products go — follow your local guidance for disposing of medicines rather than tipping them down the sink or into household waste if your area has a take-back option. What is left gets sorted by job: morning routine, evening routine, and occasional.
Then organise by height and reach:
- Eye level, front: the things you reach for every morning and evening — toothpaste, daily medication, face wash, deodorant.
- One shelf up or down: most-days items — treatments, serums, contact-lens supplies.
- Top shelf or back: occasional items, in a small container so they do not topple forward every time you open the door.
A few small, removable helpers make a shallow cabinet much more usable: a small magnetic strip or magnetic containers on a metal cabinet door for bobby pins and small metal items (only if your cabinet door is magnetic — test it first); small clear bins or cups inside the cabinet to stop bottles falling over; and a single small tray for the items you use together, such as a morning routine tray you can lift out, use, and put back.
Do not overfill it. A medicine cabinet that is packed edge to edge is slower to use than one with a little breathing room, because every bottle you move knocks another one over. If something does not fit comfortably, it belongs in the closet or in a counter organizer — not wedged into the cabinet.
Counter: what stays out, what goes away
The counter is the smallest surface in the bathroom and the one everything defaults to. A clear counter is the single biggest visual difference you can make in a tiny bathroom, and it costs nothing.
What stays out: only what you use every single day, and only in one container. For most people that is a toothbrush holder, hand soap, and one small tray or cup for the two or three items you reach for first thing. Everything else goes away — into the medicine cabinet, the closet, or a drawer if you have one.
What goes away: spare bottles, duplicates, products you are “saving” for later, styling tools, and anything you use less than a few times a week. If you use a hair dryer daily, it can live on the counter in a holder or in a nearby bin you can grab; if you use it twice a month, it lives in the closet.
A bathroom counter organizer only helps if it enforces this rule. A tray, a small tiered stand, or a divided caddy works when it holds your daily items and nothing else. The moment it becomes a second shelf for everything that did not fit elsewhere, it is part of the problem, not the solution. Choose an organizer that fits the counter you actually have — measure the depth from the wall to the sink edge before you buy — and one that can be wiped clean easily, because bathroom counters get wet.
If you share the bathroom, give each person one container, not a shared pile. One tray per person, each holding only that person’s daily items, ends the “whose is this?” pile-up and makes it obvious when a tray is overflowing.
Over-door and over-toilet options (no-drill, lease-checked)
When the closet, cabinet, and counter are sorted and you still need more room, over-door and over-toilet storage can help — with two checks first.
Check one: your lease and your landlord. “No drilling” does not automatically mean “anything that hangs is fine.” Over-door hooks and racks can mark doors, strain hinges, or block a door from closing properly. Over-toilet shelving units that stand on the floor are usually the least invasive option, because they do not attach to the wall at all — but they still need to fit without blocking access to the toilet cistern, a window, or a ventilation grille, and they must be stable. Read your lease, and if anything attaches to a wall, door, or tile — even with adhesive — check whether that counts as a modification under your agreement before you fit it.
Check two: moisture and weight. Bathrooms are humid. Anything you hang or stick up needs to suit a damp room, and anything you load onto it needs to stay within what the maker says it can hold. Check the maker’s guidance for moisture suitability and for removal before you buy — especially for adhesive hooks and strips in a bathroom, where steam and water can weaken adhesion over time, and where removal from tile, paint, or wallpaper can leave marks if the product is not made for that surface. This guide does not name a specific adhesive product, so no removal claim is made here; the checklist at the end flags maker guidance as a pre-purchase check for any product you choose.
Practical, renter-removable options, in order of least risk:
- A freestanding over-toilet unit that stands on the floor and does not attach to the wall. Use it for spares, toilet rolls, and towels — not for heavy items at head height.
- An over-door rack or hooks on the bathroom door or the inside of a closet door, for towels, robes, or a hanging organizer. Check the door still closes and latches, and that the rack does not rub the door frame.
- A shower caddy that hangs over the shower head or a tension-pole caddy in the shower corner, if your shower layout allows it. Tension products depend on a firm, even fit — check the maker’s instructions and do not force a pole into a gap it is not made for.
- A rolling cart in a narrow gap beside the vanity or toilet, if your bathroom has one. It is removable, it moves for cleaning, and it takes you with it when you move — but only if it does not block a walkway, a door swing, or access to plumbing.
Skip anything that needs screws, wall plugs, or drilling into tile. The storage gain is rarely worth the deposit risk, and a tile repair is not a small job.
DIY counter organizers renters can make and take
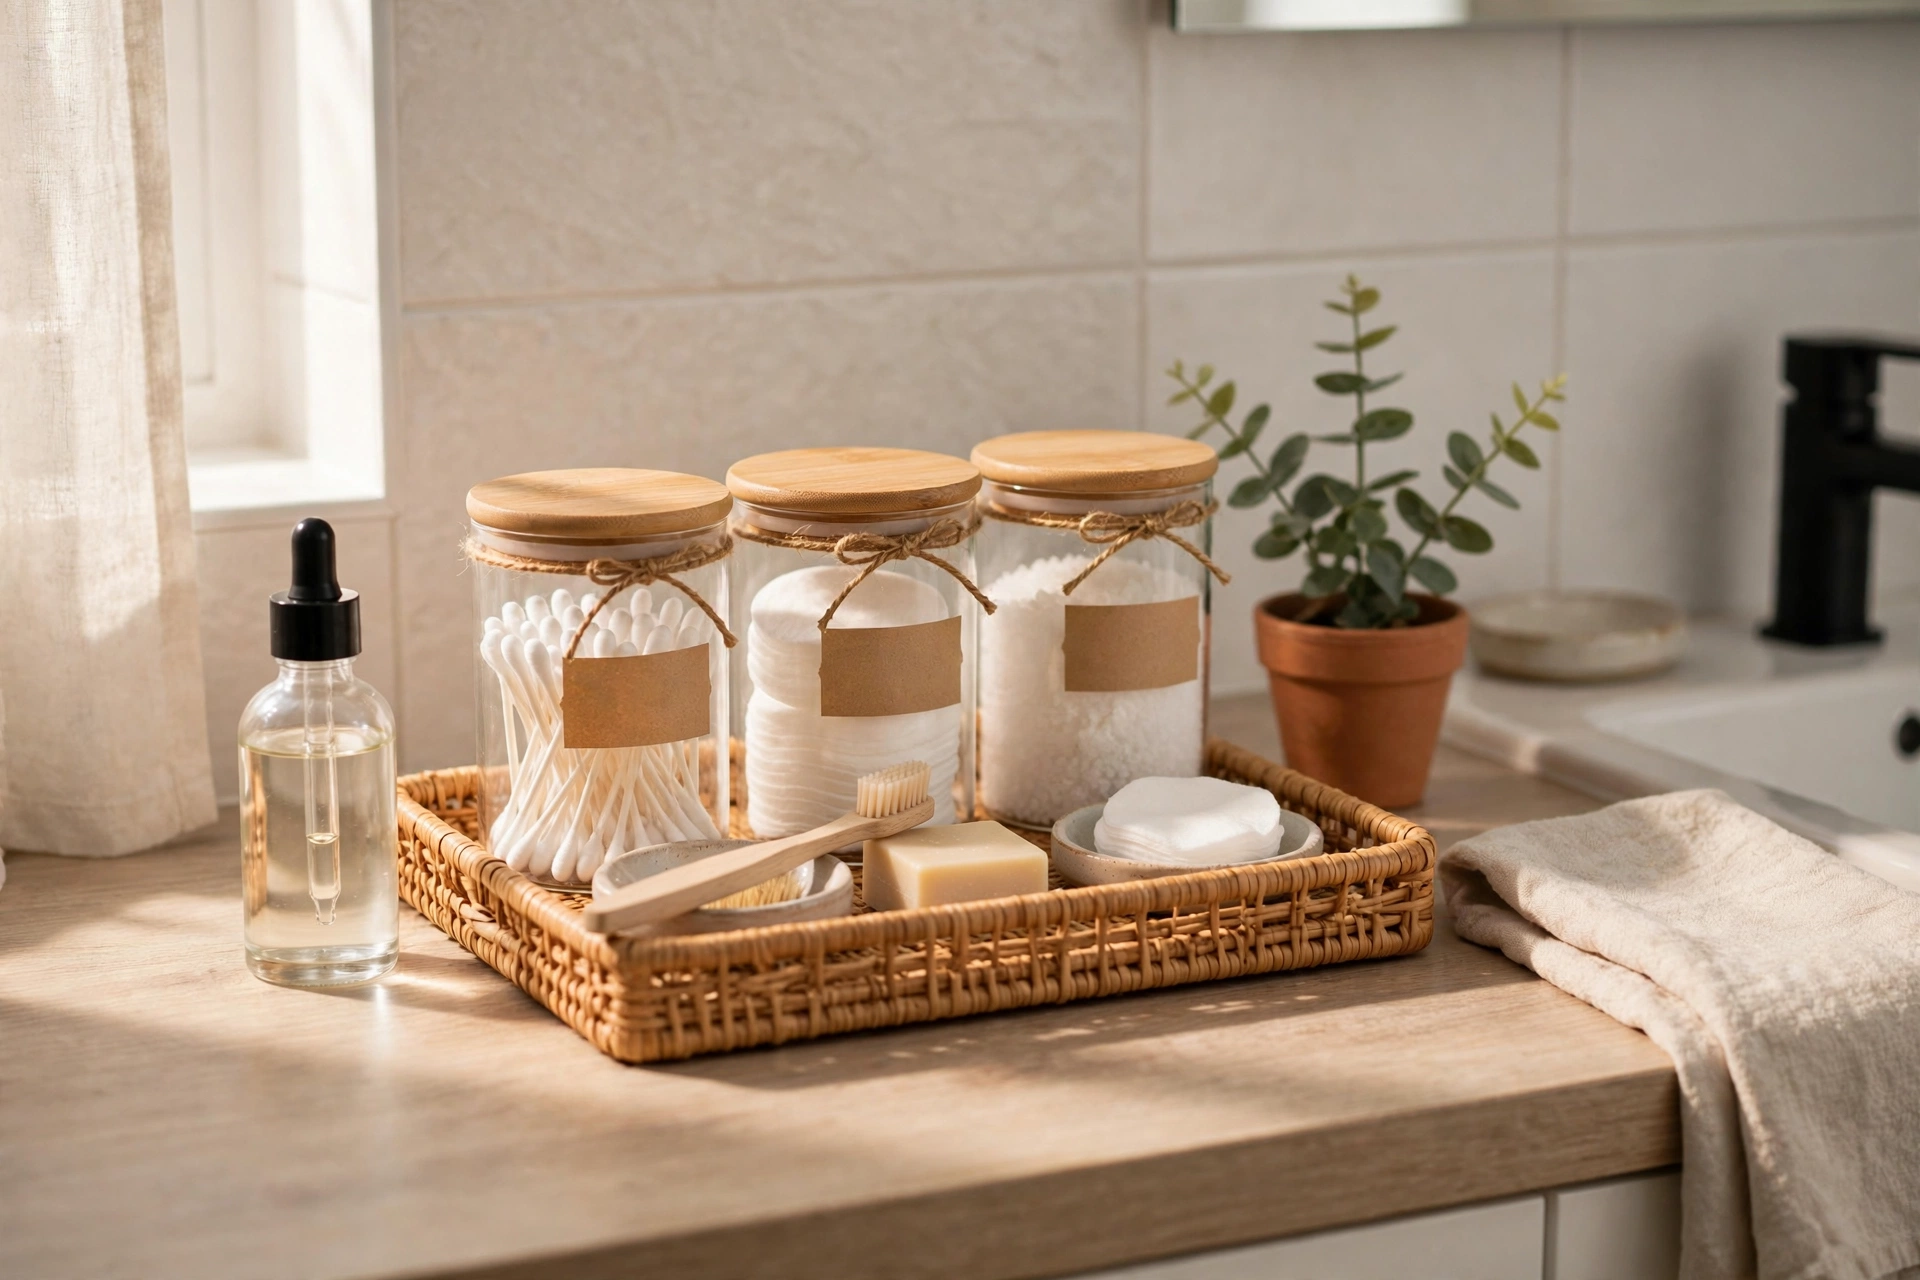
Do it yourself bathroom storage works best when it is simple, cheap, and — crucially — something you can take with you. You are not building fitted furniture. You are making a container that holds your daily items in one place.
Three DIY counter organizers that renters can actually make and take:
- The daily tray. Take any small tray, shallow basket, or repurposed baking tray you already own, line it if you like, and put only your daily items in it: hand soap, toothbrush holder, and one or two skincare items. The tray contains the clutter to one footprint, catches drips, and lifts out for cleaning. When you move, the tray moves with you.
- The labelled jar and cup set. Small jars, cups, or repurposed containers — one for cotton pads, one for hair ties and clips, one for bobby pins — grouped on a tray or in a small basket. Label them if you share the bathroom. This is bathroom counter organizer DIY at its simplest: no tools, no adhesive, nothing fixed to the room, and everything visible at a glance.
- The hanging pocket roll. A fabric hanging organizer with pockets, hung over a door hook or a removable hook (lease-checked, as above), holds small, flat items — travel sizes, nail care, first-aid basics — off the counter entirely. Roll it up when you move. It works best for light items; do not load it with heavy bottles.
A note on DIY and moisture: anything made from untreated wood, cardboard, or fabric will not last long sitting in splashes on a bathroom counter. If your DIY organizer will get wet, choose a material that can be wiped or washed, or keep it away from the sink splash zone. And if a DIY idea involves sticking, screwing, or gluing anything to a wall, tile, or cabinet, treat it the same way as a bought product: check your lease first.
A 30-minute tiny-bathroom reset
You do not need a weekend to fix a tiny bathroom. You need thirty minutes and a bag.
- Minutes 0–5: clear the counter. Everything off, wipe it down, and put back only your daily tray. Everything else goes in a bag for sorting.
- Minutes 5–15: sort the bag. Daily items go to the medicine cabinet or the daily tray. Most-days items go to the closet, one bin per category. Weekly-or-less items go to the top shelf or the back of a deep shelf. Anything expired, empty, or not belonging in the bathroom leaves the room.
- Minutes 15–25: fix one storage spot. Pick the worst one — the deep closet shelf, the medicine cabinet, or the counter — and give it bins, labels, or a tray, as described above. Just one spot, done properly.
- Minutes 25–30: check the door and floor. Does the door close? Is the over-toilet unit stable? Is there a clear path to the toilet and the shower? Put the bins back, step back, and leave it.
Repeat the reset once a month, or whenever the counter starts to creep back. Ten minutes of putting things back in their labelled homes beats another full clear-out.
FAQ
How do I store things with no closet at all?
Use the three spots you do have, in this order: the medicine cabinet for daily items, the counter for one daily tray only, and removable storage for the rest — a freestanding over-toilet unit, an over-door rack (lease-checked), or a rolling cart in a gap, if your layout allows it. Keep spares and bulk items outside the bathroom, in a bedroom closet or hallway cupboard, and bring in only what you need for the week. A bathroom with no closet stays tidy when the rule is strict: if it does not fit in the cabinet, the tray, or the removable unit, it does not live in the bathroom.
Can I use adhesive hooks and strips in a rental bathroom?
Only after checking your lease and the maker’s guidance for that exact product and surface. Steam, water, and tile or painted surfaces all affect how adhesives hold and how cleanly they come off. Do not assume a strip that works in a bedroom will work — or remove cleanly — in a bathroom. If you are unsure, use a freestanding or over-door option instead, and test any adhesive in a hidden spot first if the maker recommends it.
What should I keep in the medicine cabinet?
Daily and most-days items only: toothbrush supplies, daily medication, face wash, deodorant, and the skincare you actually use each morning and evening. Spares, bulk buys, cleaning supplies, and occasional items belong in the closet or outside the bathroom. A half-empty cabinet you can use quickly beats a full cabinet you have to dig through.
How do I keep a tiny bathroom tidy when I share it?
One container per person on the counter, one labelled bin per person (or per category) in the closet, and a shared rule: if you take it out, you put it back in its home. Shared bathrooms get messy when storage is shared and unlabelled; labelled, personal containers make it obvious whose things are overflowing.