




Quick Navigation — Jump to Any Section
Quick Cost Overview Before We Begin
Section 1: Renter-Friendly Wall Decor Ideas
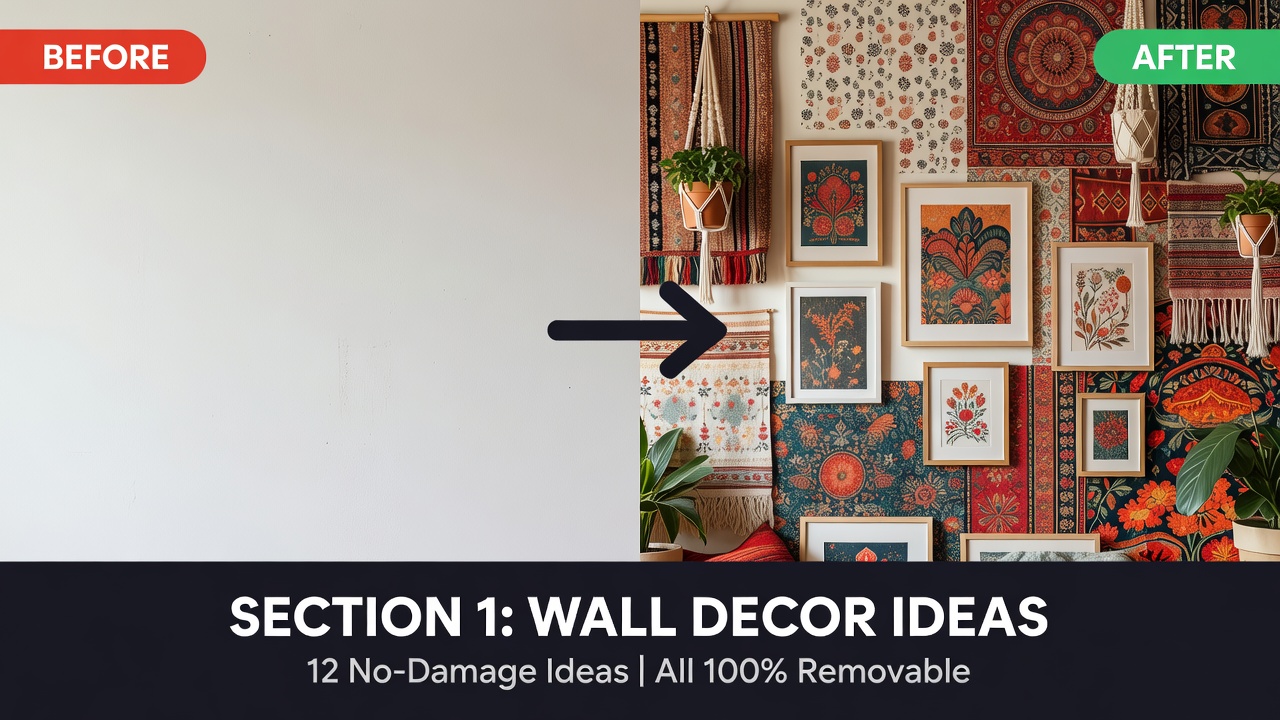
Your walls are the biggest surface in your entire apartment — and the biggest source of deposit anxiety for renters everywhere.
The good news: walls also have the most renter-friendly decoration options available today. These 12 ideas add color, texture, and personality without creating a single hole, mark, or paint chip anywhere
Idea 1: Peel and Stick Wallpaper Accent Wall
| Cost | Time | Damage Risk | Removable |
|---|---|---|---|
| $35 – $80 per wall | 2–3 hours | None  |
Yes — peels clean |
Peel and stick wallpaper has completely changed what renters can do with their walls. Modern versions go on smooth, look genuinely beautiful, and when you buy the right brand, come off without taking your paint with them.
The key word there is right brand. Quality removable wallpaper from brands like Tempaper, RoomMates, or Chasing Paper is specifically engineered to release cleanly from painted surfaces. The cheap five dollar rolls from random online listings are an entirely different product with a much more aggressive adhesive — and they will damage your walls.
Best rooms for this idea: Bedroom accent wall behind your bed, living room feature wall, or a bathroom wall for a bold statement.
How to apply it safely: Start from the top of your wall and work downward. Smooth out air bubbles as you go using a credit card or squeegee. Overlap seams slightly for a clean finish. Work slowly — this is a one-afternoon project, not a twenty-minute task.
“
Pro Tip: Always test a 6-inch piece on your specific wall for 48 hours before doing the whole wall. Every paint finish reacts differently. Flat and matte paint are the most vulnerable. Eggshell and semi-gloss are much safer surfaces for removable wallpaper.”
Idea 2: Command Strip Gallery Wall
| Cost | Time | Damage Risk | Removable |
|---|---|---|---|
| $25 – $60 total | 1–2 hours | None |
Yes |
A gallery wall with zero nail holes is completely achievable, and thousands of renters do it successfully every year using Command Picture Hanging Strips.
The most common mistake people make is using the wrong size strips for their frame weight. Command strips have very specific weight limits printed on every package, and exceeding them is exactly how you end up with a frame on the floor and your paint on the back of it.
Weight guide so you buy the right size:
- Frames under 1 pound — Command Small Picture Strips
- Frames 1 to 3 pounds — Command Large Picture Strips
- Frames 3 to 5 pounds — Command Jumbo Picture Strips
- Frames over 5 pounds — Use a leaning approach instead
Gallery wall layout tip: Arrange all your frames on the floor first and photograph the arrangement from above. Then use strips of painter’s tape on the wall to mark exactly where each frame goes before you commit anything. This saves enormous frustration.
 Critical removal note: When moving out, pull the red Command tab STRAIGHT DOWN toward the floor — never outward. Pull very slowly for a full 10 seconds per strip. Pulling outward or pulling quickly is exactly why Command Strips sometimes damage paint.
Idea 3: Removable Peel and Stick Tile Panels
| Cost | Time | Damage Risk | Removable |
|---|---|---|---|
| $20 – $45 | 1 hour | None |
Yes |
Peel and stick tile panels are not just for kitchens. Installed on a living room or bedroom wall, they create a stunning architectural feature that looks like real tile work from any normal viewing distance.
Subway tile panels give a clean, timeless look that works in almost any style apartment. Three dimensional hexagon panels add real depth and texture. Brick-style panels work beautifully in industrial or bohemian-decorated spaces.
Installation: Clean the wall surface with a damp cloth and let it dry completely before applying anything. Apply panels from the bottom of the wall upward, pressing each firmly into place.
Removal: Apply gentle heat from a hair dryer to each panel for 20 to 30 seconds, then peel slowly from one corner. The heat softens the adhesive and allows clean removal.
Idea 4: Large Tapestry or Fabric Wall Hanging
| Cost | Time | Damage Risk | Removable |
|---|---|---|---|
| $25 – $70 | 30 minutes | None |
Yes |
A large tapestry does something remarkable for a rental wall: it covers an enormous surface area with zero damage and completely transforms the mood of a room in under one hour.
Hang a tapestry using a tension rod placed across the wall, a single removable adhesive hook at the top center, or a decorative curtain wire system. All three methods leave absolutely zero wall marks.
A bonus renters rarely consider: A large tapestry or fabric hanging can cover pre-existing wall damage that was there before you moved in. This protects you from being blamed for that damage at move-out time, as long as you documented the original damage in your move-in photos.
Idea 5: Washi Tape Wall Patterns
| Cost | Time | Damage Risk | Removable |
|---|---|---|---|
| $8 – $15 | 1–2 hours | None |
Yes — peels off cleanly |
Washi tape is a Japanese decorative tape that peels off cleanly from virtually every surface including painted walls. It comes in hundreds of patterns, colors, and widths, and costs almost nothing.
Use it to create geometric patterns across a feature wall, frame a decorative shape behind your bed, outline the edges of built-in shelving for a custom look, or create a simple grid pattern across a large white wall that mimics real wallpaper at a fraction of the cost.
Ideas 6 Through 12 — More Renter-Friendly Wall Ideas
| Number | Idea | Cost | Damage Risk |
|---|---|---|---|
| 6 | Floating shelves using tension systems | $30–$60 | None |
| 7 | Removable wall decals and stickers | $15–$40 | None |
| 8 | Mirrors mounted with Command strips | $25–$80 | None |
| 9 | Macrame wall hanging on removable hook | $20–$50 | None |
| 10 | Peel-and-stick wood panel wall | $40–$90 | Low  |
| 11 | Framed fabric panels hung with strips | $15–$30 | None |
| 12 | LED strip light frame artwork on furniture | $20–$45 | None |
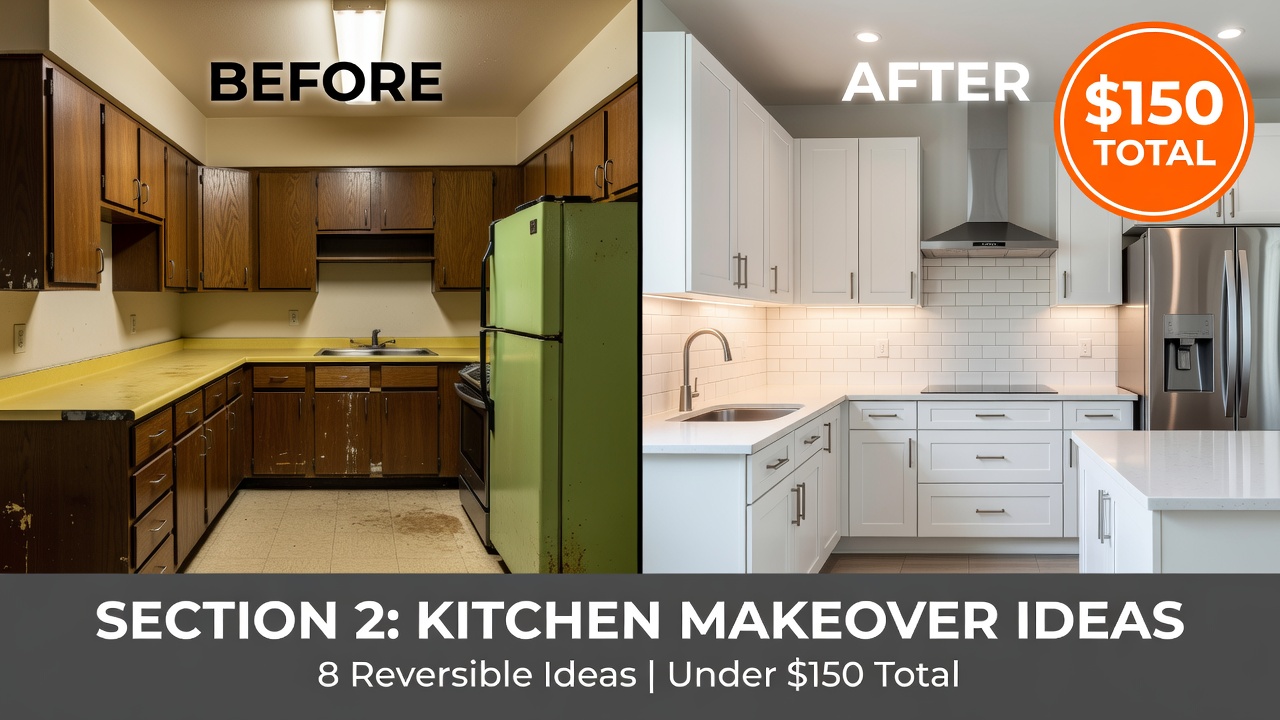
The kitchen is where most renters completely give up on decorating. Ugly brown cabinets from 1987. Cracked tile backsplash. Laminate countertops that have seen better decades. Fluorescent lighting that makes everything look slightly medical.
But the kitchen actually has more renter-friendly transformation options than any other room in your apartment — and these upgrades have the highest visual impact per dollar of anything in this entire guide.
Idea 13: Peel and Stick Kitchen Backsplash
| Cost | Time | Damage Risk | Removable |
|---|---|---|---|
| $30 – $75 | 2 hours | None ✅ | Yes |
This is the single highest-impact kitchen upgrade available to renters today.
Peel and stick backsplash tiles install directly over your existing backsplash surface — whether that is painted drywall, old ceramic tile, or plain plaster. They handle kitchen heat and cooking moisture without bubbling or peeling. And when your lease ends, they come off cleanly with gentle heat from a hair dryer.
The preparation step most renters skip and then regret: Before applying anything, clean your existing wall surface thoroughly with rubbing alcohol and a clean cloth. Let it dry for a full 24 hours. This single step is the difference between tiles that stay perfectly for two years and tiles that start lifting at corners after two weeks.
Most popular styles for rental kitchens:
- Classic white subway tile for a timeless clean look
- Moroccan pattern for bohemian or eclectic kitchens
- Geometric black and white for modern minimal style
- Marble-look tiles for an instantly luxurious appearance
💡 Brand tip: Smart Tiles is the most consistently recommended brand among renters for kitchen backsplash applications. They cost more than generic options but they are specifically designed for kitchen conditions and remove reliably without adhesive residue.
Idea 14: Cabinet Contact Paper Makeover
| Cost | Time | Damage Risk | Removable |
|---|---|---|---|
| $20 – $50 | 3–4 hours | Low ⚡ | Yes with care |
Ugly kitchen cabinets are the most common rental complaint — and contact paper is the most underestimated solution.
Applied carefully to cabinet doors and drawer fronts, contact paper looks genuinely real from any normal viewing distance. Wood grain finish transforms dark brown cabinets into fresh oak. Marble pattern creates the look of a designer kitchen. Solid white makes a dark cramped kitchen feel open and modern.
How to do it correctly: Remove cabinet doors completely if possible — working on a flat surface is far easier than working vertically. Measure each door and cut contact paper slightly oversized. Apply from one edge slowly, smoothing with a squeegee to eliminate every air bubble as you go. Trim excess with a sharp craft knife.
⚠️ Removal note: Contact paper on cabinets is rated low risk rather than zero risk because cabinet surface finishes vary widely. Older laminate finishes that are already peeling may have some adhesive residue on removal. Always test inside one small cabinet before doing all of them.
Idea 15: Countertop Cover Film
| Cost | Time | Damage Risk | Removable |
|---|---|---|---|
| $25 – $60 | 2–3 hours | None ✅ | Yes |
If your rental countertops are stained, chipped, or just genuinely ugly, countertop vinyl film is the solution most renters have never heard of — and one of the most impressive transformations in this entire guide.
This thick, durable vinyl film applies over existing countertops and looks remarkably realistic. Marble finish is the most popular choice. Butcher block finish gives a warmer, more natural look. The application requires patience and a hair dryer to help the film conform to edges and corners properly. Done carefully, this looks like a real material replacement.
Ideas 16 Through 20 — More Rental Kitchen Upgrades
| Number | Idea | Cost | Damage Risk |
|---|---|---|---|
| 16 | New cabinet hardware using existing holes | $15–$40 | Low ⚡ |
| 17 | Over-sink tension rod shelf | $12–$25 | None ✅ |
| 18 | Plug-in under-cabinet LED lighting | $20–$40 | None ✅ |
Section 3: Rental Bathroom Upgrades
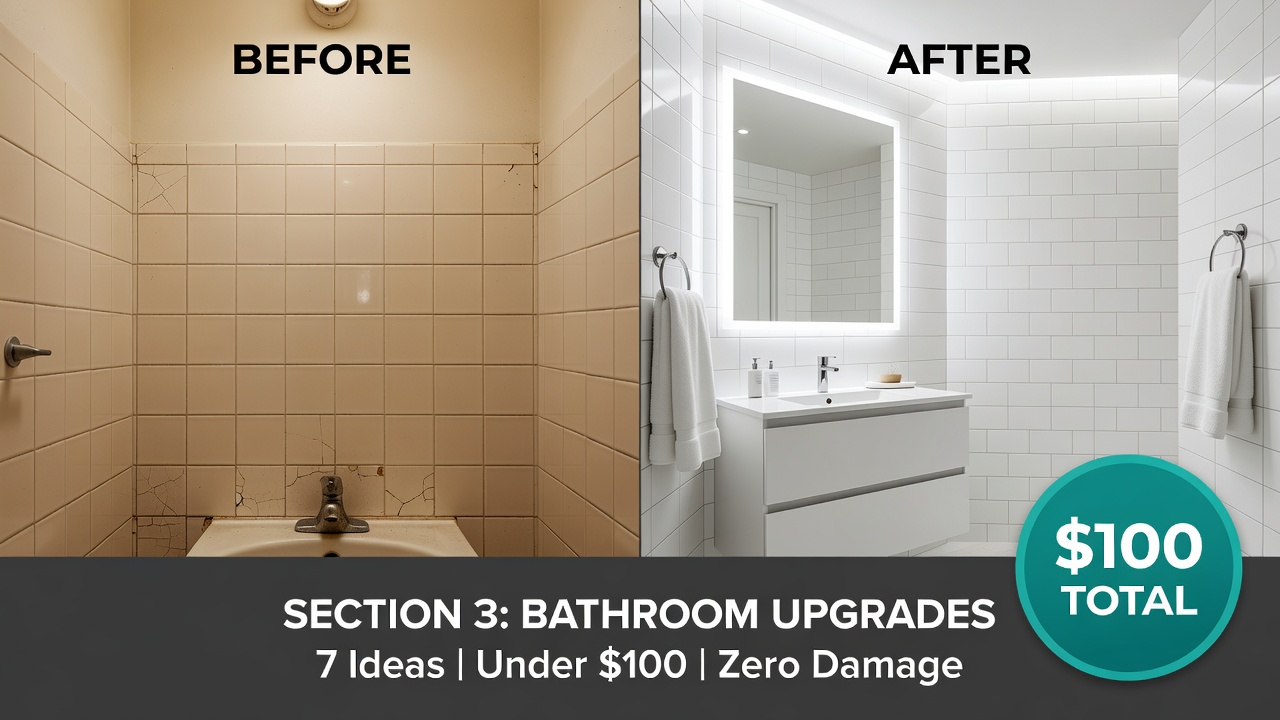
Bathrooms are small — and that means every single change you make has enormous visual impact. Every mistake you make is equally obvious. These seven upgrades work specifically around rental limitations to transform your most-used room without touching anything permanently.
Idea 21: Peel and Stick Tile Over Existing Tile
| Cost | Time | Damage Risk | Removable |
|---|---|---|---|
| $30 – $80 | 2 hours | None ✅ | Yes |
The ugliest bathroom tile in the world can be covered. This is not an exaggeration.
Peel and stick bathroom tiles apply directly over existing ceramic or porcelain tile. They are specifically formulated to handle bathroom humidity and temperature fluctuations without lifting or warping. When you move out, they peel off without cracking or damaging the original tile underneath.
Critical preparation step: Bathroom surfaces have soap scum, hard water residue, and general grime that prevents proper adhesion. Clean every tile thoroughly with a degreaser, then wipe down with rubbing alcohol. Let the surface dry for a full 24 hours before applying anything. This step cannot be skipped.
Most popular styles:
- Clean white subway tile over dated colored tile
- Marble hexagon for a spa-like feel
- Simple gray geometric for a modern update
Idea 22: Tension Rod Shelving System
| Cost | Time | Damage Risk | Removable |
|---|---|---|---|
| $25 – $50 | 20 minutes | None ✅ | Yes |
The most underutilized storage solution in rental bathrooms is also the simplest: tension rods.
A tension rod installed vertically in the space under your bathroom sink creates instant storage for spray bottles and cleaning supplies. A tension rod installed horizontally in a corner holds hanging baskets for shampoo and soap. A tension rod across a small window holds a privacy curtain with zero wall contact.
Ideas 23 Through 27 — More Bathroom Upgrades
| Number | Idea | Cost | Damage Risk |
|---|---|---|---|
| 23 | Adhesive or suction shower caddy | $15–$35 | None ✅ |
| 24 | Stick-on mirror frame kit | $30–$60 | None ✅ |
| 25 | Removable toilet paper holder | $12–$25 | None ✅ |
| 26 | Over-door towel and storage organizer | $20–$40 | None ✅ |
| 27 | New shower curtain with decorative rings | $20–$45 | None ✅ |
Section 4: Rental Floor Fixes
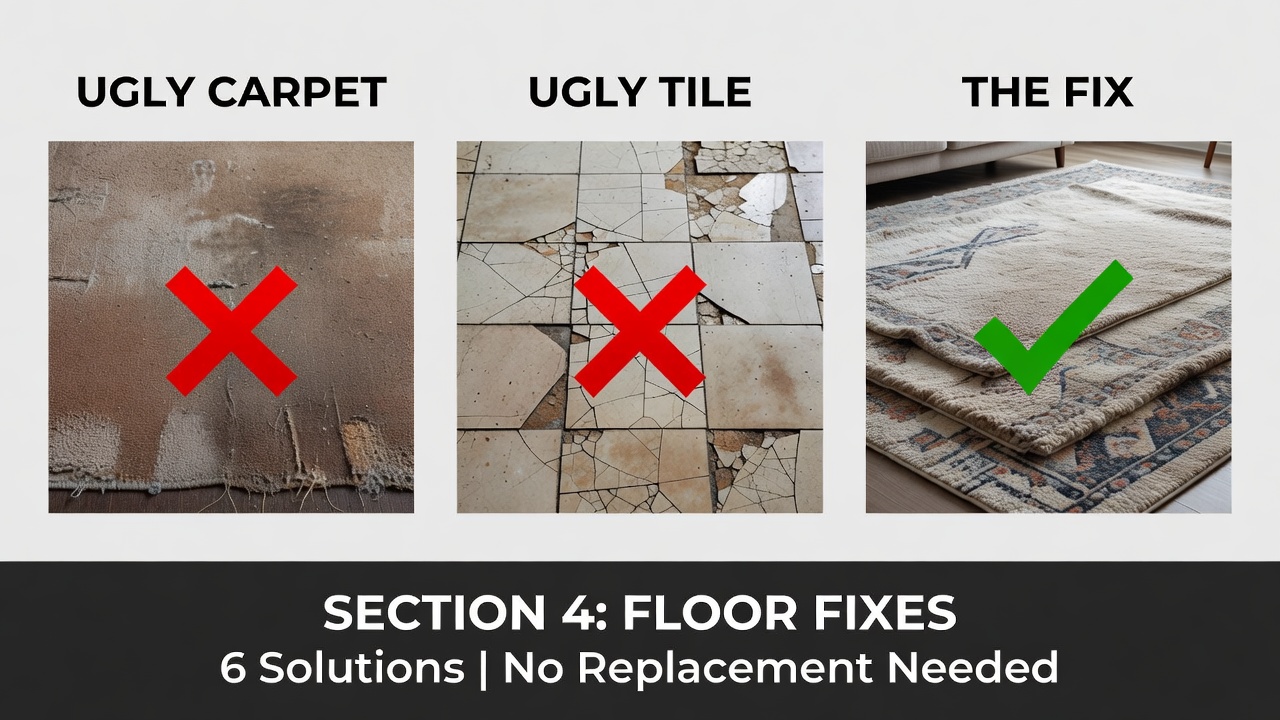
Floors are often the rental feature that bothers renters most and gets addressed least. Brown carpet from a previous decade. Cracked linoleum. Scratched hardwood that has clearly lived several lives before yours. Here are six approaches that solve every floor problem without touching the original surface.
Idea 28: The Area Rug — Foundation of Every Rental Room
| Cost | Time | Damage Risk | Removable |
|---|---|---|---|
| $30 – $150 | 10 minutes | None ✅ | Yes — instantly |
If you do nothing else from this entire guide, do this one thing.
A large area rug is the single most effective change you can make to any room in your rental apartment. It covers ugly carpet, ugly hardwood, ugly tile, and ugly linoleum with equal effectiveness. It defines the space visually. It adds warmth and texture immediately. It muffles sound between floors. And it lifts up in seconds when you move out.
The sizing rule most renters get wrong: In a living room, the front legs of your sofa and all chairs should sit on the rug. A rug that is too small floats in the middle of the room and makes everything look worse rather than better.
Recommended rug sizes by room:
- Living room: 8 by 10 or 9 by 12 for most standard spaces
- Bedroom: 8 by 10 placed so it extends 18 to 24 inches on each side of the bed
- Under dining table: Should extend 24 inches past the table on all sides so chairs stay on the rug when pulled out
Idea 29: Rug Layering for Maximum Floor Coverage
| Cost | Time | Damage Risk | Removable |
|---|---|---|---|
| $25 – $80 for second rug | 10 minutes | None ✅ | Yes |
Rug layering is the rental decorator’s most powerful floor trick — and it looks genuinely intentional rather than desperate when done correctly.
Place a large neutral-toned rug as your base layer — natural jute, sisal, or a simple solid color works perfectly for this. Then layer a smaller more decorative or patterned rug directly on top. The combination covers more floor space than one rug alone, adds visual depth and design interest, and photographs beautifully.
Ideas 30 Through 33 — More Renter Floor Solutions
| Number | Idea | Cost | Damage Risk |
|---|---|---|---|
| 30 | Interlocking foam floor tiles | $30–$60 | None ✅ |
| 31 | Vinyl plank flooring — floating, no adhesive | $60–$120 | None ✅ |
| 32 | Peel and stick floor tiles — hard floors only | $40–$90 | Low ⚡ |
| 33 | Non-slip rug pad under all rugs | $15–$30 | None ✅ |
Section 5: Window and Privacy Ideas
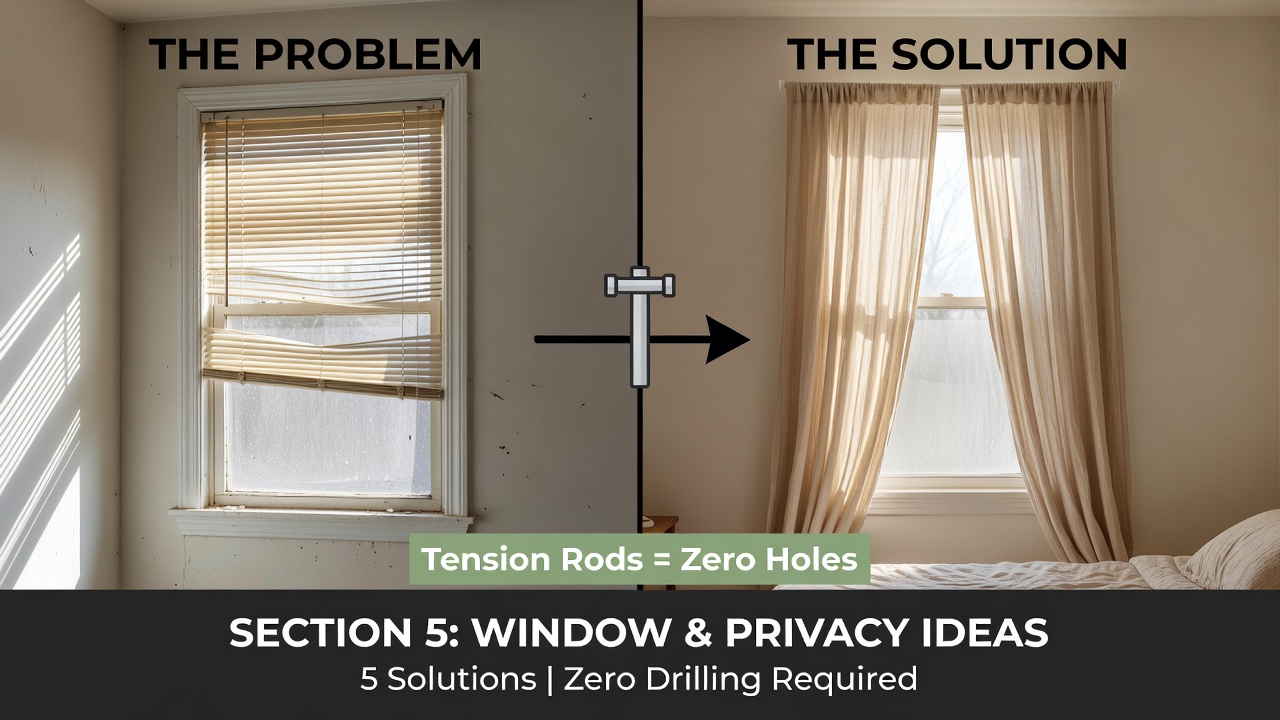
Windows are one area where renters feel completely limited — and they do not need to be. Every idea in this section works without touching the wall or window frame with a single screw or nail.
Idea 34: Tension Rod Curtains
| Cost | Time | Damage Risk | Removable |
|---|---|---|---|
| $15 – $35 for rod | 15 minutes | None ✅ | Yes — instant |
Tension rods are the curtain solution that every renter should know about and most renters have never tried.
A tension rod works entirely by pressure. It sits inside the window frame, pressing outward against each side with enough force to hold curtains securely — without a single screw, hole, or wall mark of any kind. Setup takes 15 minutes. Removal takes 30 seconds.
For heavier curtains: Choose a tension rod specifically rated for higher weights — the package will state the maximum clearly. A rod rated for at least 20 pounds is necessary for thick lined curtains.
💡 Double tension rod hack: Use one rod at the top of your window frame for full curtain panels and a second rod positioned midway down for a cafe-style privacy panel underneath. This is especially effective in street-level apartments or any window facing another building directly.
Ideas 35 Through 38 — More Renter Window Solutions
| Number | Idea | Cost | Damage Risk |
|---|---|---|---|
| 35 | Removable frosted window privacy film | $15–$35 | None ✅ |
| 36 | Adhesive curtain rod holders for walls | $10–$20 | None ✅ |
| 37 | Bamboo blinds hung on existing hardware | $25–$60 | None ✅ |
| 38 | Sheer panels on decorative curtain wire | $20–$40 | None ✅ |
Section 6: Rental Lighting Upgrades
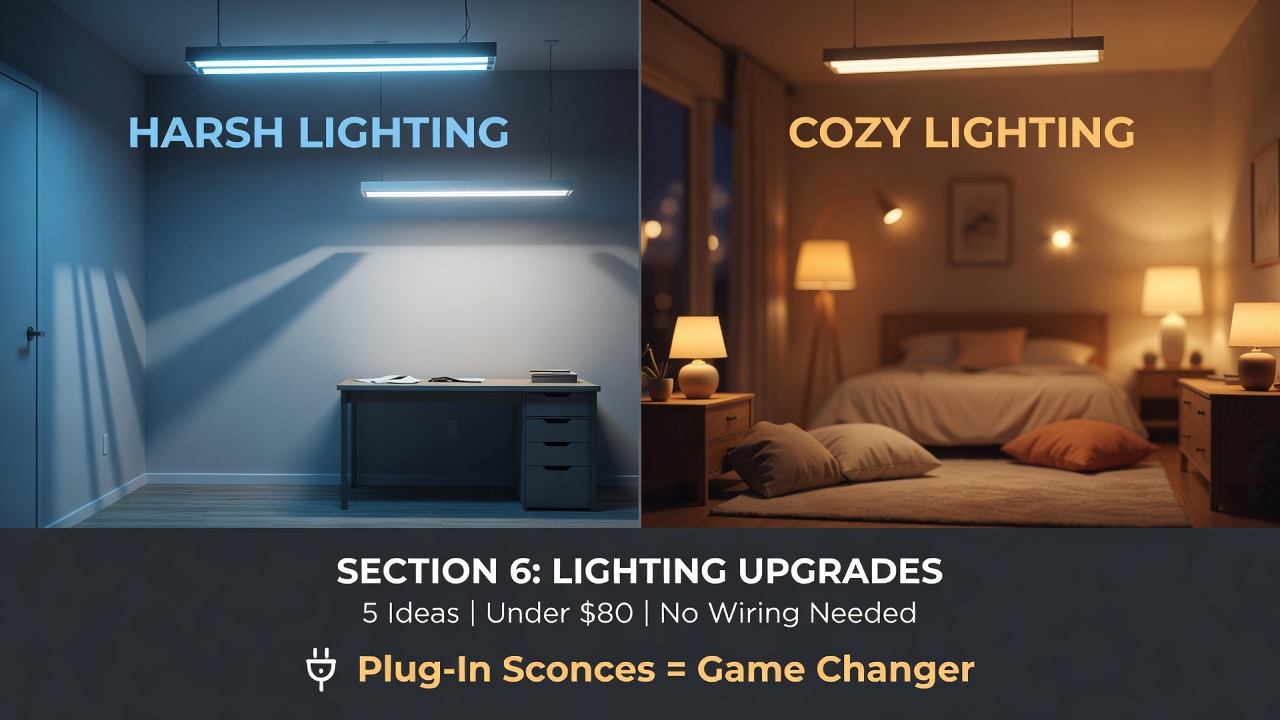
Bad lighting is responsible for more rental apartments feeling depressing than almost any other single factor. The harsh overhead fluorescent that casts flat light on everything. The single ceiling fixture in the center of the room that creates shadows in every corner. The bathroom vanity light that makes everyone look vaguely unwell.
Every single one of these problems has a renter-friendly fix that costs under $80 and takes under an hour.
Idea 39: Plug-In Wall Sconces
| Cost | Time | Damage Risk | Removable |
|---|---|---|---|
| $25 – $80 | 10 minutes | None ✅ | Yes |
This is the most underused lighting upgrade available to renters — and it creates one of the most dramatic improvements of anything in this guide.
Plug-in wall sconces look exactly like hardwired wall light fixtures. The only difference is a cord that plugs into a standard outlet. Mount them on the wall with Command strips or a single adhesive hook. Run the cord along the wall to the nearest outlet using small adhesive cable clips. The result genuinely looks like a professionally wired installation.
Best places to use plug-in sconces:
- On either side of your bed instead of table lamps — frees up your entire nightstand
- On either side of a bathroom mirror for flattering even vanity lighting
- In a living room corner where overhead light never reaches
- In an entryway for warm welcoming ambient light
⚠️ Important LED Strip Light Warning: LED strips with direct adhesive backing applied to painted walls are one of the most common causes of security deposit loss. The adhesive is extremely aggressive and will pull paint off the wall on removal. Always mount LED strips on furniture — the back of your headboard, under your TV stand, along the bottom of a bookshelf — rather than directly on any painted wall surface.
Ideas 40 Through 43 — More Rental Lighting Solutions
| Number | Idea | Cost | Damage Risk |
|---|---|---|---|
| 40 | LED strip lights mounted on furniture only | $15–$40 | None ✅ |
| 41 | Floor lamp placed in dark corners | $35–$90 | None ✅ |
| 42 | Swag plug-in pendant lamp hung from hook | $30–$80 | None ✅ |
| 43 | Smart warm bulbs in existing fixtures | $25–$50 | None ✅ |
Section 7: Renter Storage Solutions
Storage is the problem every renter underestimates before moving in and scrambles to solve after. These four solutions add meaningful storage to any rental apartment without drilling a single hole or leaving any mark on walls.
Idea 44: Freestanding Shelving Unit
| Cost | Time | Damage Risk | Removable |
|---|---|---|---|
| $40 – $120 | 30 minutes assembly | None ✅ | Yes — moves with you |
The most straightforward renter storage solution is also the most overlooked: furniture that holds things.
A freestanding bookshelf or shelving unit leans against the wall without any permanent contact. Industrial pipe-style leaning shelves hold books, plants, and decorative objects while looking intentional and styled. Ladder shelves work beautifully in living rooms and bedrooms. Five-tier wire shelving is ideal for closets, pantry areas, and bathrooms where maximum storage capacity matters most.
Everything on a freestanding shelf moves with you when your lease ends. You are building a home that is portable — and that is exactly the right approach for a renter.
Ideas 45 Through 47 — More No-Drill Storage Solutions
| Number | Idea | Cost | Damage Risk |
|---|---|---|---|
| 45 | Over-door organizers for pantry, closet, bathroom | $15–$35 | None ✅ |
| 46 | Command hook collection throughout apartment | $10–$25 | None ✅ |
| 47 | Tension rod under-sink organization system | $8–$15 | None ✅ |
Section 8: Final Touches That Tie Everything Together
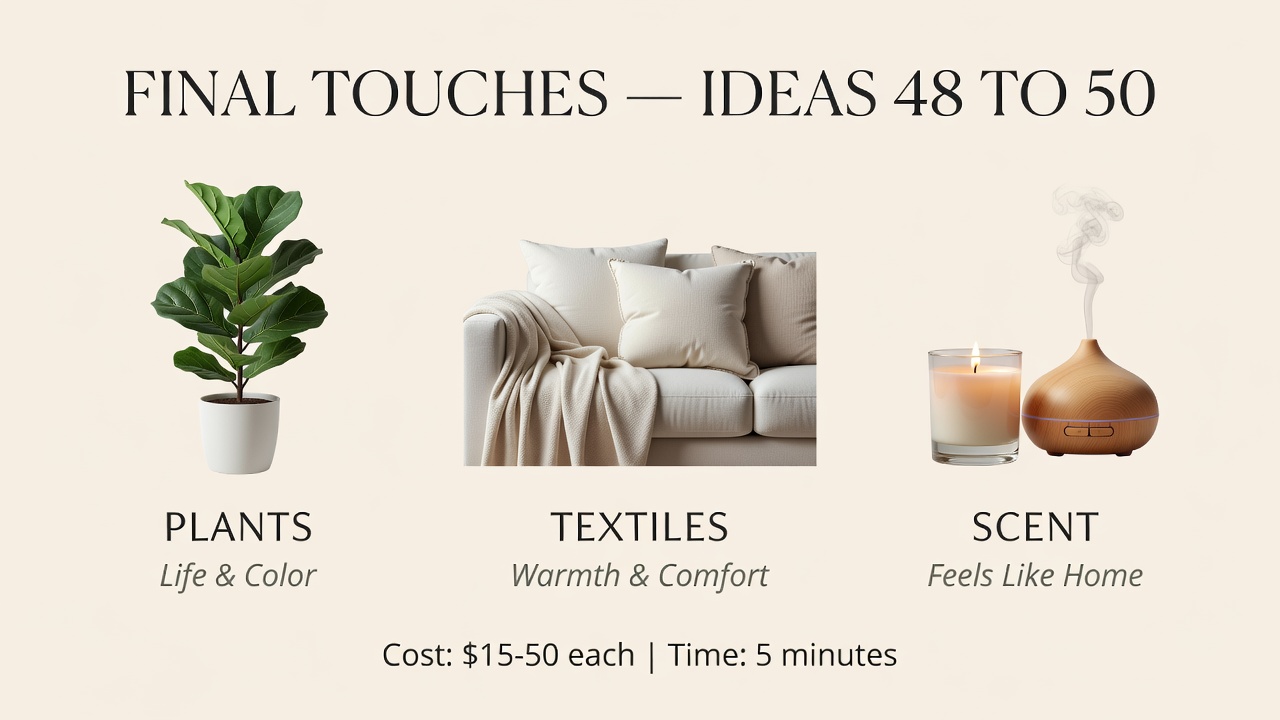
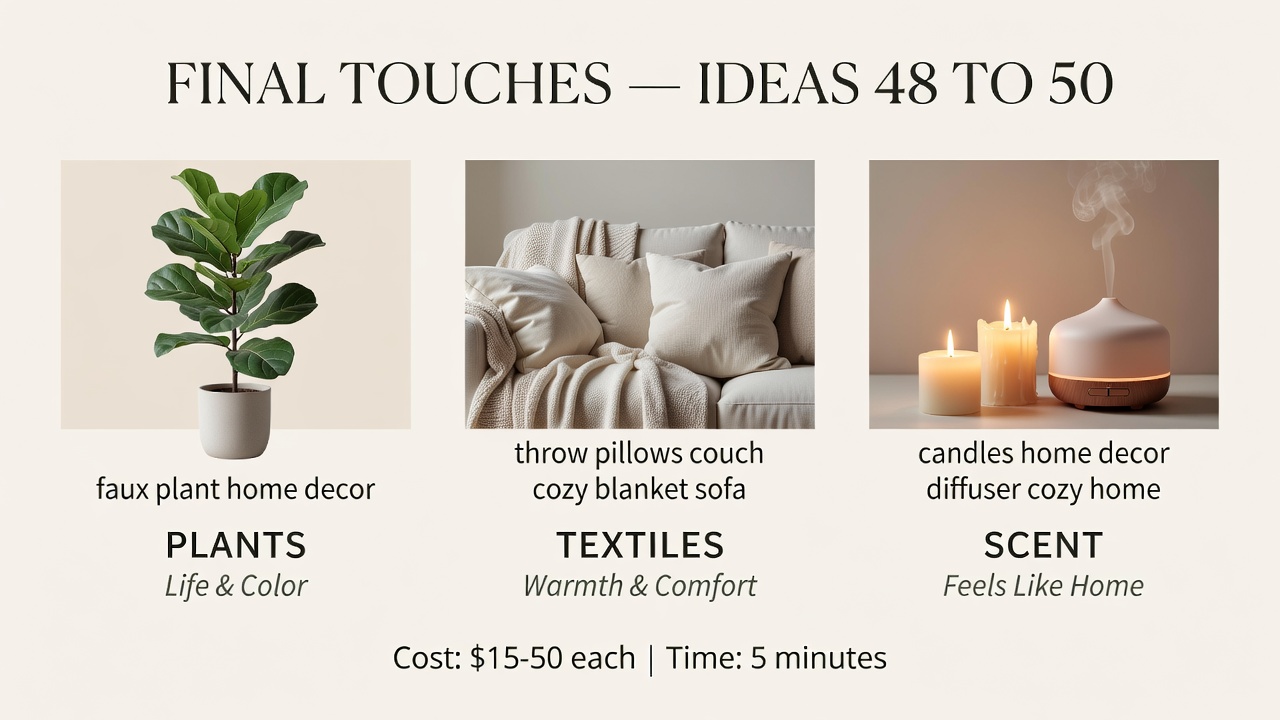
These three ideas cost almost nothing, take minutes to set up, and contribute more to the feeling of a real home than most people realize or expect.
| Number | Idea | Cost | Damage Risk |
|---|---|---|---|
| 48 | Realistic faux plants — zero maintenance | $15–$50 | None ✅ |
| 49 | Throw pillows and cozy blankets | $20–$60 | None ✅ |
| 50 | Scent — diffuser, candles, or room spray | $15–$40 | None ✅ |
Plants bring life and color to every corner they occupy. A single realistic faux plant in a corner transforms the entire feel of a living room. Soft textiles — a chunky throw blanket draped over a sofa, two or three quality throw pillows — create warmth and comfort that no furniture arrangement can fully replace. And scent: a consistent pleasant fragrance throughout your apartment creates a subconscious sense of belonging and home that is genuinely difficult to achieve through visual decoration alone.
What I Would Skip — Products That Sound Safe But Are Not
Before you go shopping, here are the products and approaches that regularly cost renters their security deposits despite appearing completely safe.
Cheap peel and stick wallpaper under five dollars per roll
The adhesive formula is completely different from quality removable wallpaper. It bonds too aggressively to paint and pulls chunks of it off on removal. This is the single most common source of wall damage from renters who believed they were being careful.
Generic mounting tape instead of Command brand
These have different adhesive formulas and completely different removal methods. Command strips are designed to stretch off the wall. Generic mounting tape is not — and it behaves accordingly.
LED strip lights applied directly to any painted wall
The adhesive on LED light strips is extremely aggressive. Mount them on furniture surfaces only — never directly on painted walls.
Any Command strip used beyond its rated weight limit
The weight limit on every package is a real engineering specification. Exceeding it does not just mean the item falls — it means it falls and takes wall paint with it.
Any adhesive product applied to walls painted less than 30 days ago
Fresh paint takes 30 full days to cure completely. Anything applied before that point can bond to the paint itself rather than the wall surface beneath it, making clean removal impossible.
Contact paper applied in poorly ventilated bathrooms
In bathrooms without proper ventilation and air circulation, contact paper lifts, bubbles, and eventually peels — looking far worse than the original surface ever did.
Move-Out Removal Guide — How to Remove Everything Safely
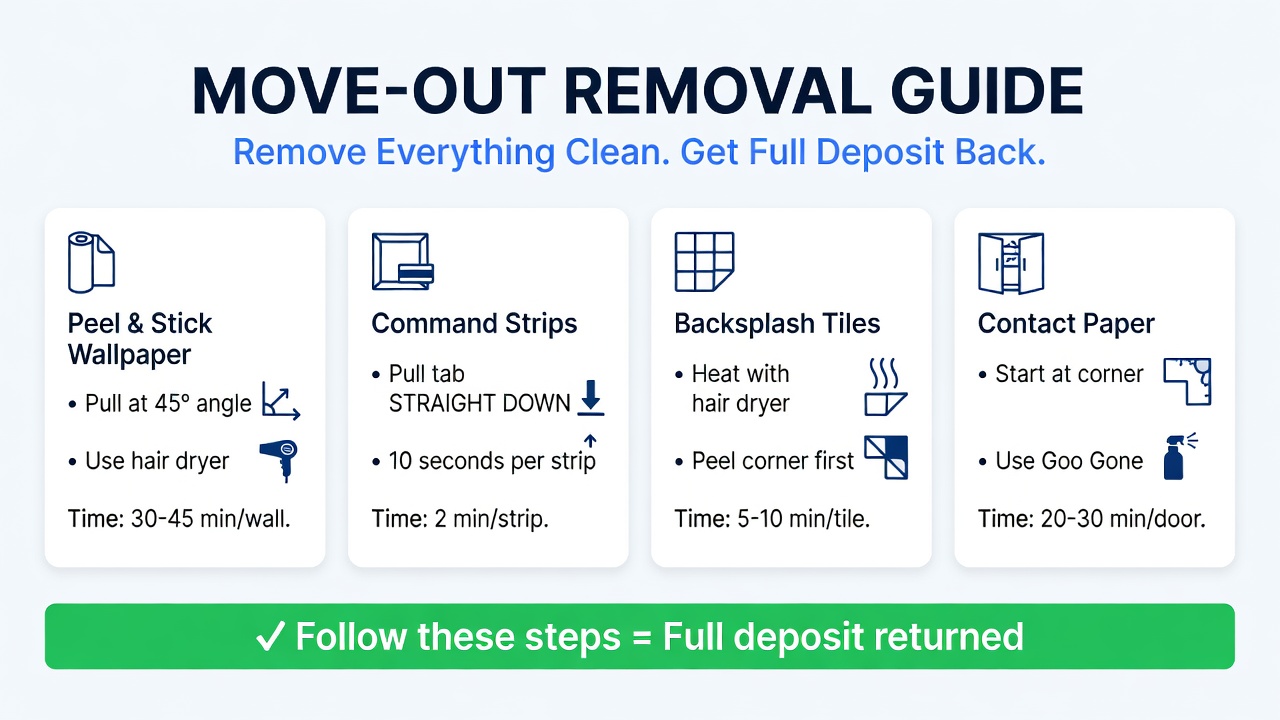
This section is just as important as every decorating idea above it. Decorating without damage is only half the job. Removing everything correctly when your lease ends is the other half. Follow these steps precisely and your landlord will have nothing legitimate to charge you for.
Removing Peel and Stick Wallpaper
What you need: Hair dryer, clean damp cloth, baby oil or Goo Gone
-
Start at the very top corner of the wallpaper panel. Never start from the middle of a panel — you will cause creasing and tearing.
-
Pull the wallpaper back slowly at a 45-degree angle toward the wall. Do not pull straight outward away from the wall.
-
For any sections that feel tight or resist releasing, hold a hair dryer on low heat six inches from the surface for 20 to 30 seconds, then resume pulling slowly.
-
If adhesive residue remains on the wall after the paper is fully removed, apply a small amount of baby oil to a clean cloth and rub gently in circular motions. The residue will release cleanly.
-
Wipe the entire wall area with a clean damp cloth and allow to dry completely before your move-out inspection.
Time required: 30 to 45 minutes per wall
Removing Command Strips
-
Locate the red stretchy tab hanging from the bottom edge of the strip.
-
Pull the tab STRAIGHT DOWN toward the floor. Not outward toward you. Not at any angle. Straight down.
-
Pull very slowly. The full removal of one strip should take approximately 10 full seconds. This feels slower than natural — go slower anyway.
-
If the tab breaks before the strip releases, slide a length of dental floss behind the strip body and use a gentle sawing motion to work it free from the wall.
Time required: 2 minutes per strip
Removing Peel and Stick Backsplash and Tile
-
Apply heat from a hair dryer directly to one tile for 30 full seconds.
-
Slide a flat putty knife gently under one corner of the heated tile.
-
Peel back slowly while keeping the hair dryer moving over the surface with your other hand.
-
Continue across the entire tiled surface one tile at a time — do not try to rush or pull multiple tiles at once.
-
Apply adhesive remover solution to any residue remaining on the original surface. Wipe clean.
Time required: 5 to 10 minutes per individual tile
Removing Contact Paper From Cabinets
-
Start at one edge or corner of the cabinet door.
-
Pull back slowly and steadily at a low angle. Working in a warm room temperature makes this significantly easier.
-
Apply gentle heat from a hair dryer to any sections that resist.
-
Apply Goo Gone to a cloth and use it to remove any adhesive residue. Never apply Goo Gone directly to the cabinet surface itself.
-
Wipe clean with a damp cloth and dry completely.
Time required: 20 to 30 minutes per cabinet door
Removing Washi Tape
This is the easiest removal of anything in this guide. Peel from one end slowly. It comes off cleanly from virtually every surface with zero residue. Done.
Frequently Asked Questions From Renters
Will peel and stick wallpaper damage my rental walls?
Quality brands like Tempaper, Chasing Paper, and RoomMates are specifically designed to remove cleanly from painted walls. However damage can and does occur in specific situations: when the paint is less than 30 days old and still curing, when the wall has a flat or matte paint finish rather than eggshell or semi-gloss, when the wall surface is textured or rough, or when a generic no-brand product is used.
The rule that protects your deposit: always test a 6-inch piece on your specific wall for a full 48 hours before doing any larger application.
Do Command Strips really not damage walls?
Command strips are genuinely safe when every step is followed correctly. Problems occur when people pull the tab outward instead of straight down, pull too quickly, use them on flat or matte paint finishes, apply them to paint less than 30 days old, or exceed the weight rating on the package.
Follow the removal instructions precisely — particularly the direction and speed of tab removal — and they release cleanly from properly cured eggshell or semi-gloss paint surfaces without any marks.
What decor changes need landlord permission?
Generally require written permission:
- Painting walls any color including white
- Installing permanent fixtures of any kind
- Changing light fixtures or any electrical components
- Drilling holes larger than small picture nails
- Installing ceiling fans
- Mounting a television permanently to a wall
Generally do not require permission:
- Removable peel and stick wallpaper
- Area rugs and floor coverings
- Curtains hung on tension rods
- Command strips for pictures and hooks
- All freestanding furniture
- Plug-in lights and lamps
- All peel and stick products designed for rental use
When you are genuinely uncertain about anything: ask your landlord via email so you have a dated written record of their response.
Can my landlord keep my deposit for nail holes?
Small nail holes from normal picture hanging are considered normal wear and tear in most US states and cannot legally be deducted from your security deposit. What landlords can legally charge for: large holes from drilling, multiple holes clustered in one small area, holes that damage surrounding paint significantly, and any holes that were not filled before your move-out inspection.
Best practice: fill every hole with spackling paste before your walkthrough. It costs five dollars, takes ten minutes, and removes any possible argument entirely.
What is the difference between normal wear and tear and actual damage?
Normal wear and tear — landlord cannot charge:
Small nail holes from pictures, minor wall scuffs, faded paint from sunlight exposure, carpet wear in high-traffic walking areas, and worn-looking door handles from regular use.
Actual damage — landlord can legally charge:
Paint pulled off by adhesive products, large holes in walls, stains on carpet or flooring, broken fixtures, unauthorized painting, and any permanent alteration made without written permission.
Laws vary significantly by state. Research the specific tenant rights laws in the state where your rental is located before making any decorating decisions.
How much should I budget to decorate a rental apartment?
A minimal but meaningful transformation costs 100 to 300 dollars and covers a large area rug, curtains, and basic wall art. A mid-level makeover of multiple rooms runs 300 to 600 dollars. A complete transformation including kitchen and bathroom upgrades typically costs 600 to 1000 dollars.
The most important spending principle for renters: invest in everything you take with you when you move — rugs, curtains, lamps, art, shelving. Spend as little as possible on anything that stays with the apartment when your lease ends.
What should I buy first for my rental apartment?
Priority order for maximum visual impact per dollar spent:
Week one — Immediate impact:
- Large area rug — transforms every room it enters
- Floor-to-ceiling curtains — makes ceilings feel higher instantly
- Warm light bulbs to replace any harsh cool-white bulbs throughout the apartment
Week two — Add personality:
- Throw blanket and pillows on your sofa
- Plants — real or faux — in corners and on surfaces
- One gallery wall or statement art piece
After these six investments your rental will feel like a genuine home rather than a temporary stop.
Your Rental Can Feel Like Home — Starting This Week
Decorating a rental apartment is not about working around limitations and making do with what you have.
It is about knowing which products actually work, which ones will silently cost you your deposit, and exactly how to remove everything cleanly when your lease eventually ends.
Every single idea in this guide was chosen for one non-negotiable reason: it comes off clean.
Start with one room. Pick the three ideas from this guide that excite you most and start there this week. The transformation is faster and more affordable than you are probably imagining right now. And when your lease ends and you move into your next place — you take every single thing with you.
Save this guide and return to it room by room. There are ideas here that will change how every space in your rental looks, feels, and functions.
Keep Reading — Room by Room Guides
- Rental Kitchen Backsplash: 9 Peel and Stick Ideas That Look Real
- How to Get Your Full Security Deposit Back: Complete Renter’s Checklist
- Peel and Stick Wallpaper Mistakes That Cost Renters Their Deposit
- No-Drill Curtain Ideas for Every Window Type and Budget
- First Apartment Checklist: Everything to Buy in Week One
This post contains affiliate links. If you purchase through these links, I earn a small commission at no additional cost to you. I only recommend products I have personally researched and believe are genuinely safe for rental use.

