
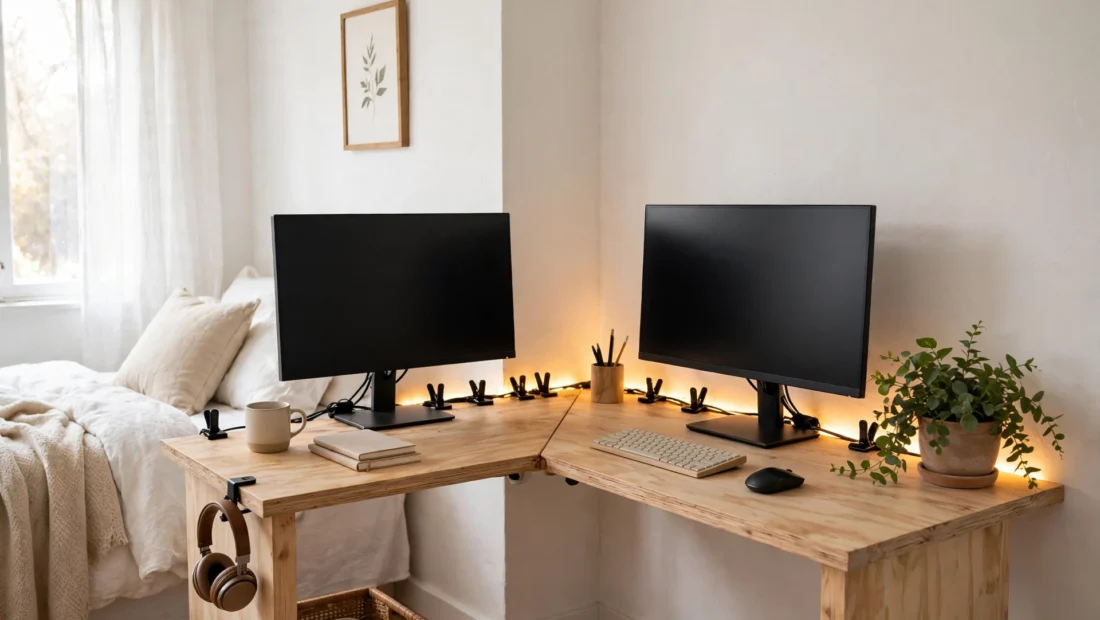
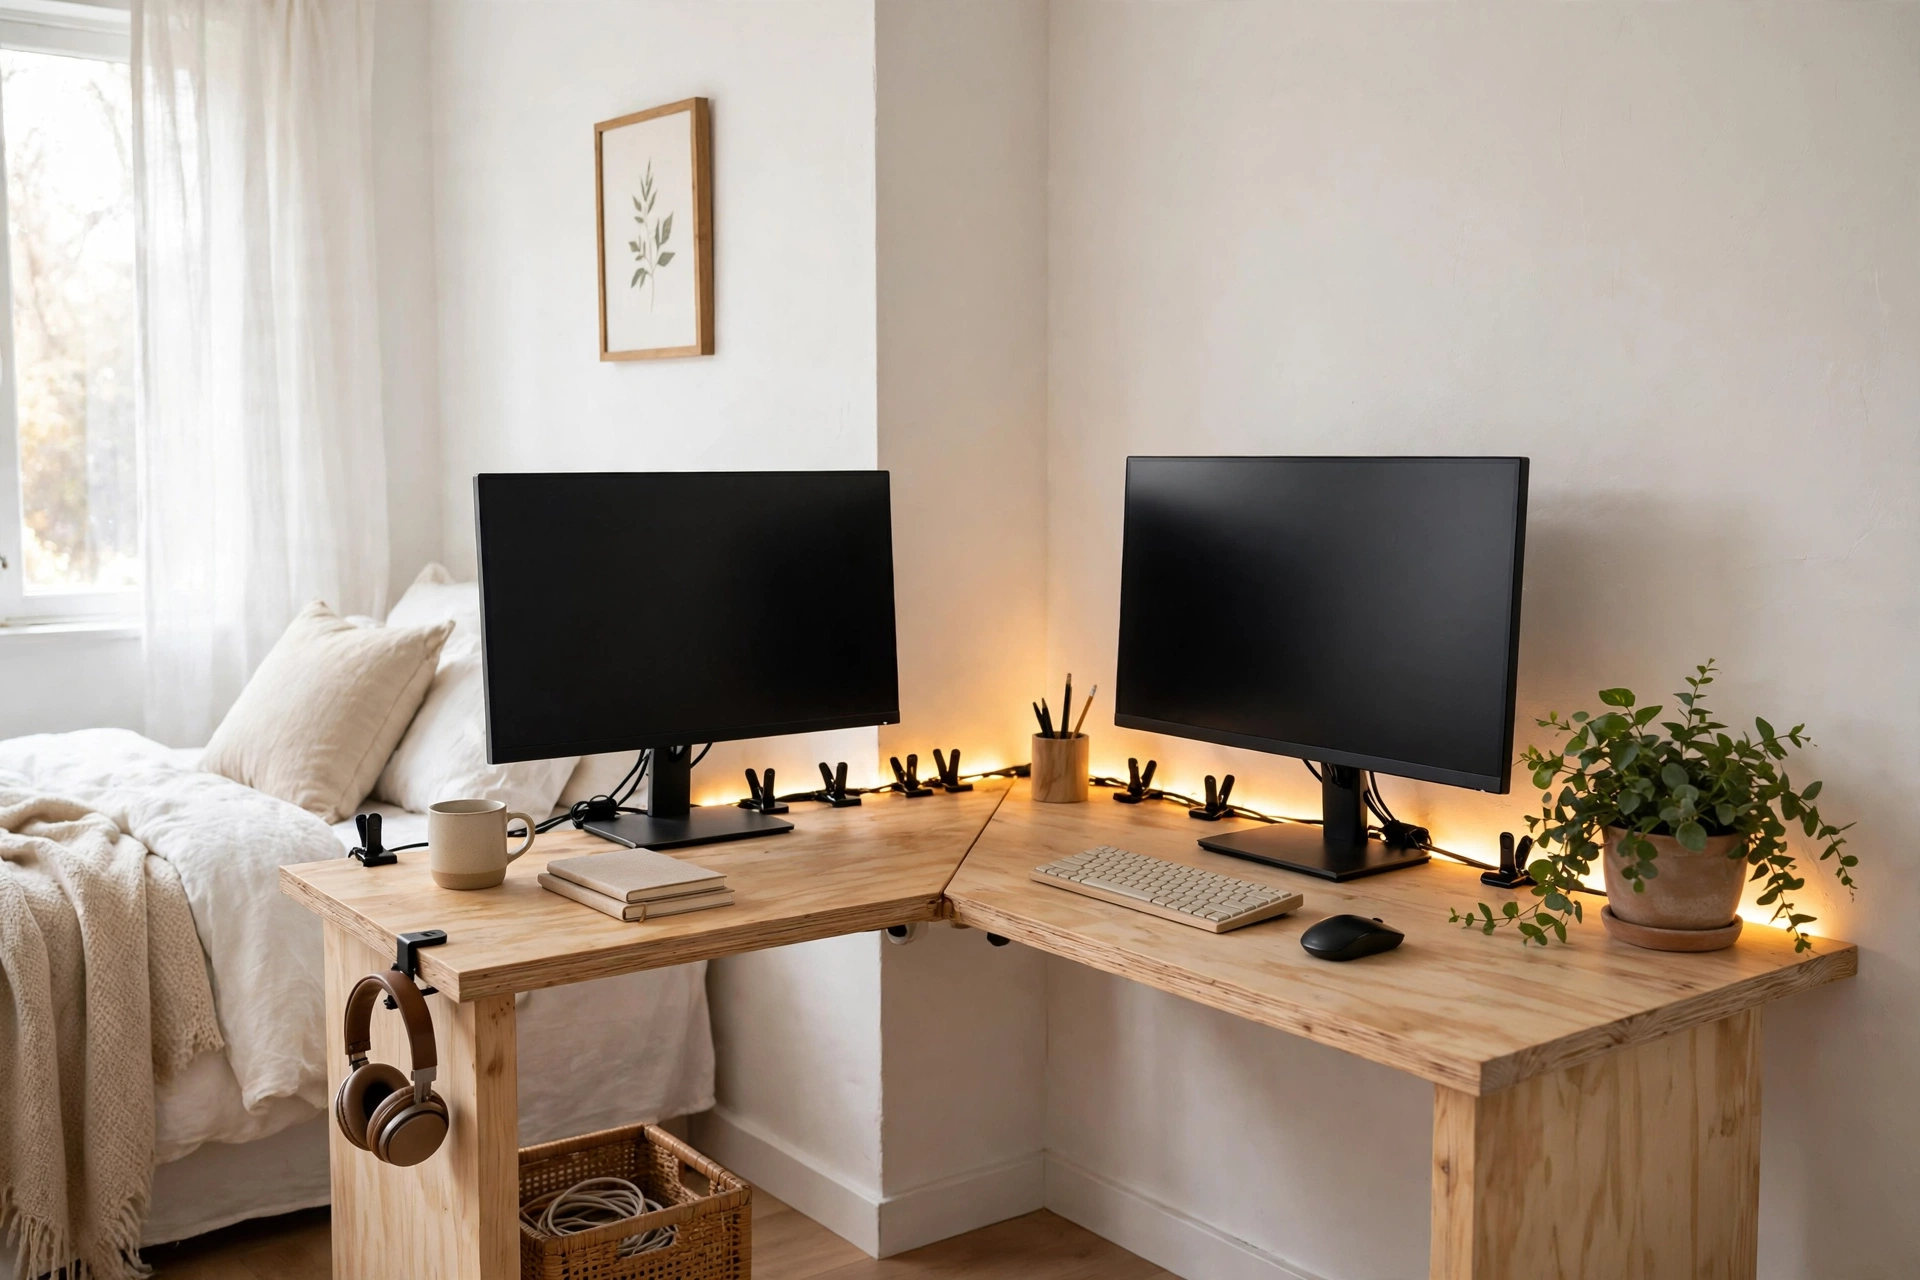
An L shaped desk DIY build does not need to be a woodworking project. The simplest version is two freestanding desk tops — or a desk and a small side table of the same height — pushed together at a right angle in the corner. If the heights match, the join is almost invisible once your monitors and keyboard are on it. And when you move out, the two pieces separate in seconds, with nothing fixed to the wall and nothing to repair.
That is the whole appeal for a renter: you get the L shape — two surfaces, one for the screens and one for everything else — without buying a corner desk and without asking a landlord for permission to build anything in. This guide shows how to pick the two tops, join them without leaving a mark, set up two screens on them, hide the cables, and light the corner like a gaming space.
Table of Contents
[Hide]- Pick two tops that actually match
- Measure for the build, not just the room
- Join them without leaving a mark
- Where to put it: window, wall, or middle of the room
- Two screens on a build with no built-in anything
- Cables on a build with no built-in channels
- Light it like a gaming corner, not a cave
- Taking it apart at move-out
- FAQ
- Is a DIY L shaped desk worth it in a rental?
- How do I join two desk tops without damaging them?
- What if the two tops are different heights?
- Do I need to drill anything for a dual monitor setup?
- How do I hide cords if my desk is in the middle of the room?
Pick two tops that actually match
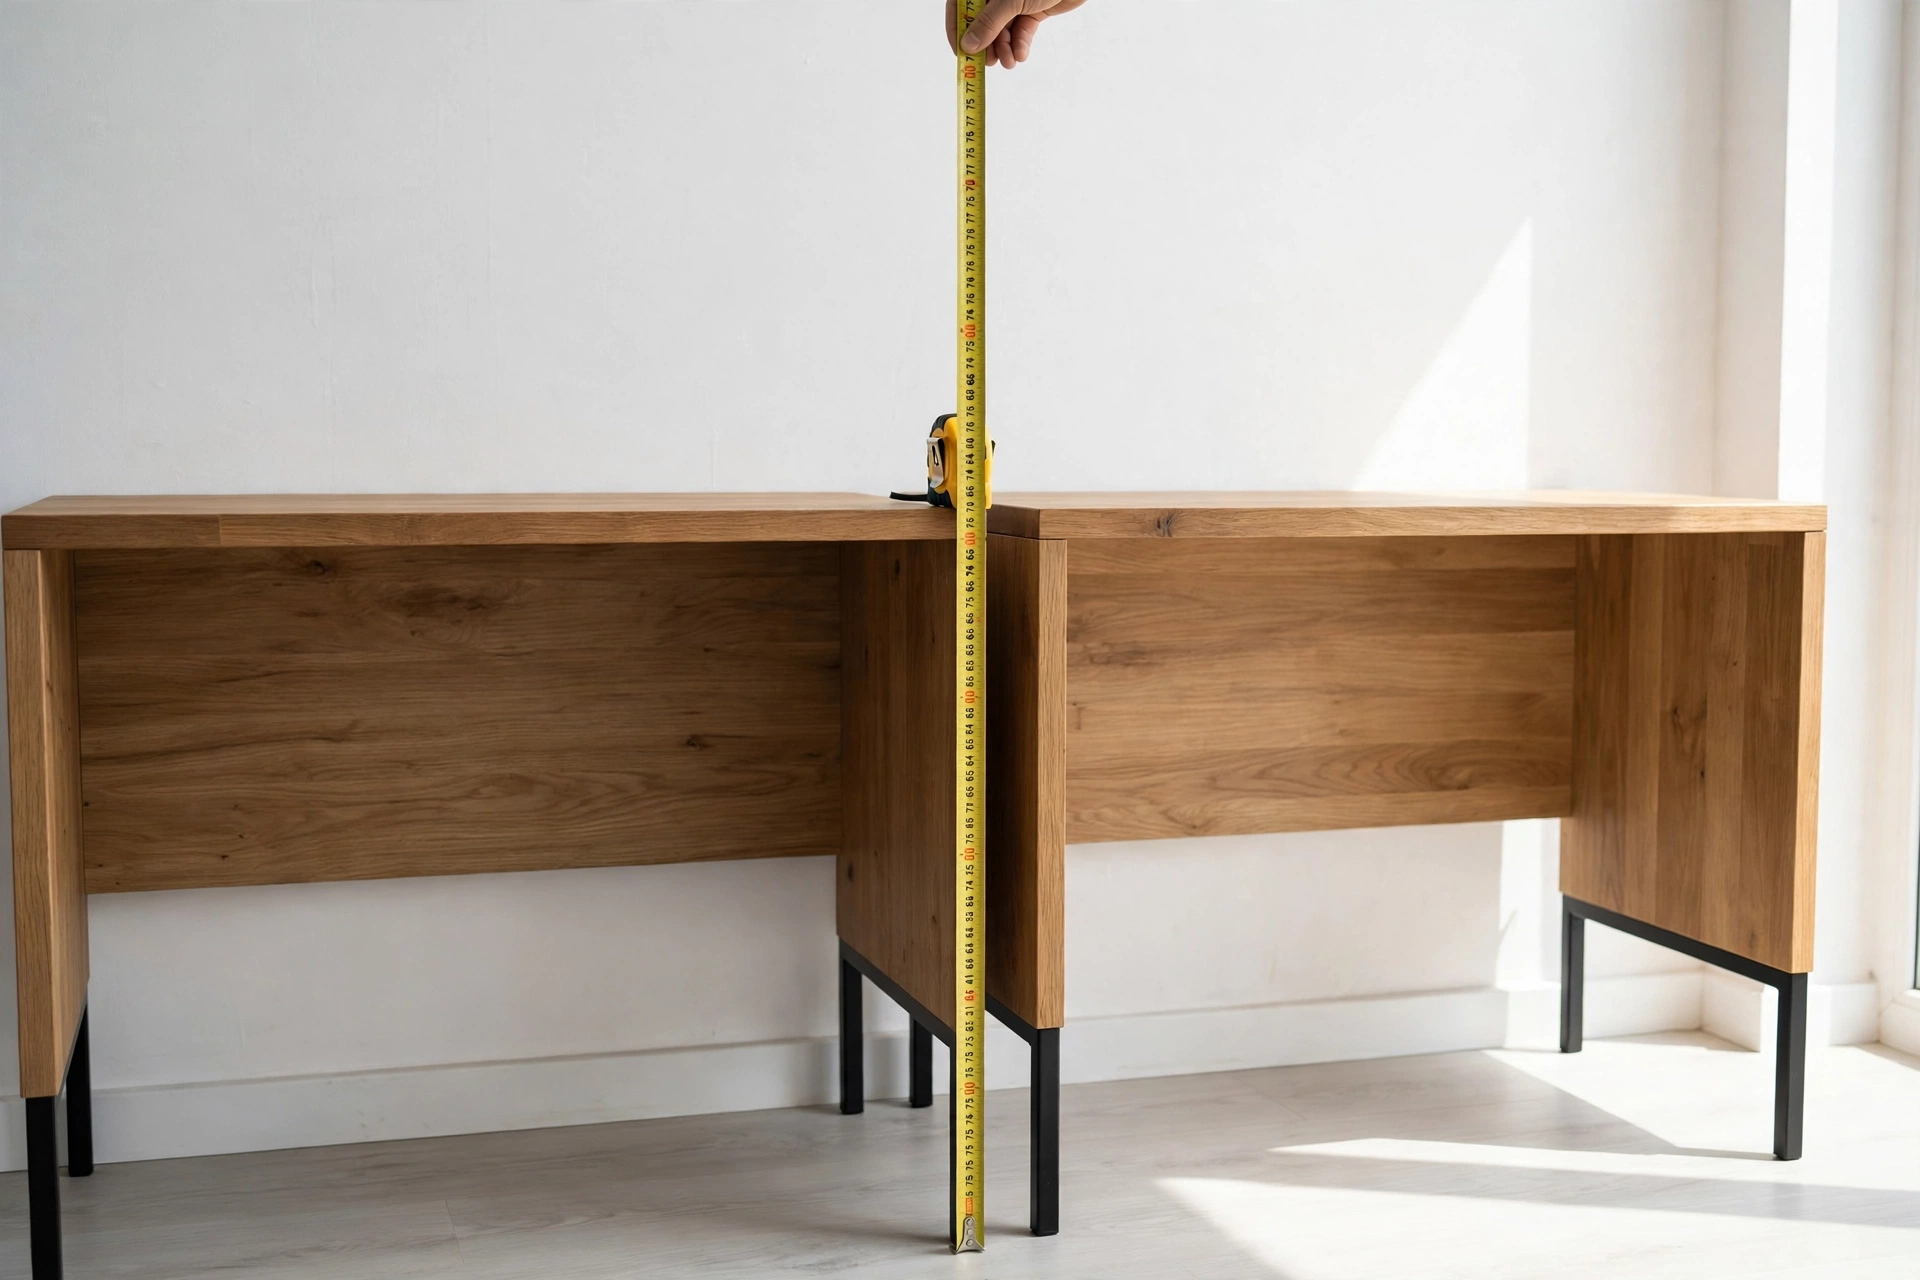
The build lives or dies on the match. Two tops of different heights make a step at the join that your wrist and your mouse will feel all day. Two tops of very different depths make one wing stick out into the room while the other hugs the wall. So before you buy anything, check three things: height, depth, and material.
Height matters most. Put a straight edge or a spirit level across both tops where they will meet, and confirm they sit level. If one top is a few millimetres higher, a thin felt pad under its legs can even it out — but a gap of more than a centimetre means the tops do not belong together. Depth is next: tops around the same depth keep the L looking deliberate. A deep main top and a shallow return still works, as long as the return is deep enough for what it holds — a notebook, a console, a headset stand — and not just a ledge.
Material is the third check, and it is about the join as much as the look. Two tops with the same finish look like one desk; two clashing finishes look like two desks pushed together. A secondhand top in the same wood tone as the one you own is often the cheapest way to get the match, and thrifted or secondhand tops are exactly what this build is for — the whole point is using what exists rather than buying a single-purpose corner desk.
One more check before you commit: desk thickness. If you plan to use a monitor arm that clamps to the desk edge, confirm the clamp fits your tops’ thickness. Most clamps handle a range, but a very thin top or a very thick one can both be a problem. Keep the original monitor stands either way, so you can restore the setup later.
Measure for the build, not just the room
Start with a tape measure, not a shopping list. Measure both walls of the corner, and note where the power sockets are, where the door swings, and how far your chair needs to roll back. A desk that fits the wall but leaves no room for your chair is a desk you will hate within a week.
Then measure for the join itself. Two tops that are each a little too long will not fit the corner together, even if each one fits on its own — so measure the pair as a unit, not as two singles. Leave a small gap behind the desk for cables, a few centimetres is enough, and check the height of anything that will sit under it, like a PC tower or a storage box. If the room has a radiator, a window sill, or a skirting board that sticks out, measure around it too. Corners in older rentals are rarely perfectly square, so measure at the height the desk will sit, not just at floor level.
Before you build, mark the footprint on the floor with painter’s tape and sit inside it. Mime typing, roll the chair back and stand up. That costs nothing and tells you whether the walkway still works once the chair rolls back — which is the test that matters, because a desk that blocks the path makes the room feel smaller than it is.
And leave room for your legs: the corner where the two tops meet is dead space for your knees, so sit in your usual spot and check you are not boxed in. If the join pinches your legs, slide the shorter top a few centimetres out from the wall — the gap is hidden by the corner, and your knees will thank you.
Join them without leaving a mark
The join is the one part of this build that can go wrong, so keep it simple: the two pieces should be able to separate in seconds at move-out. Avoid joining them with screws or brackets that mark the wood, and avoid anything that needs to be fixed to the wall.
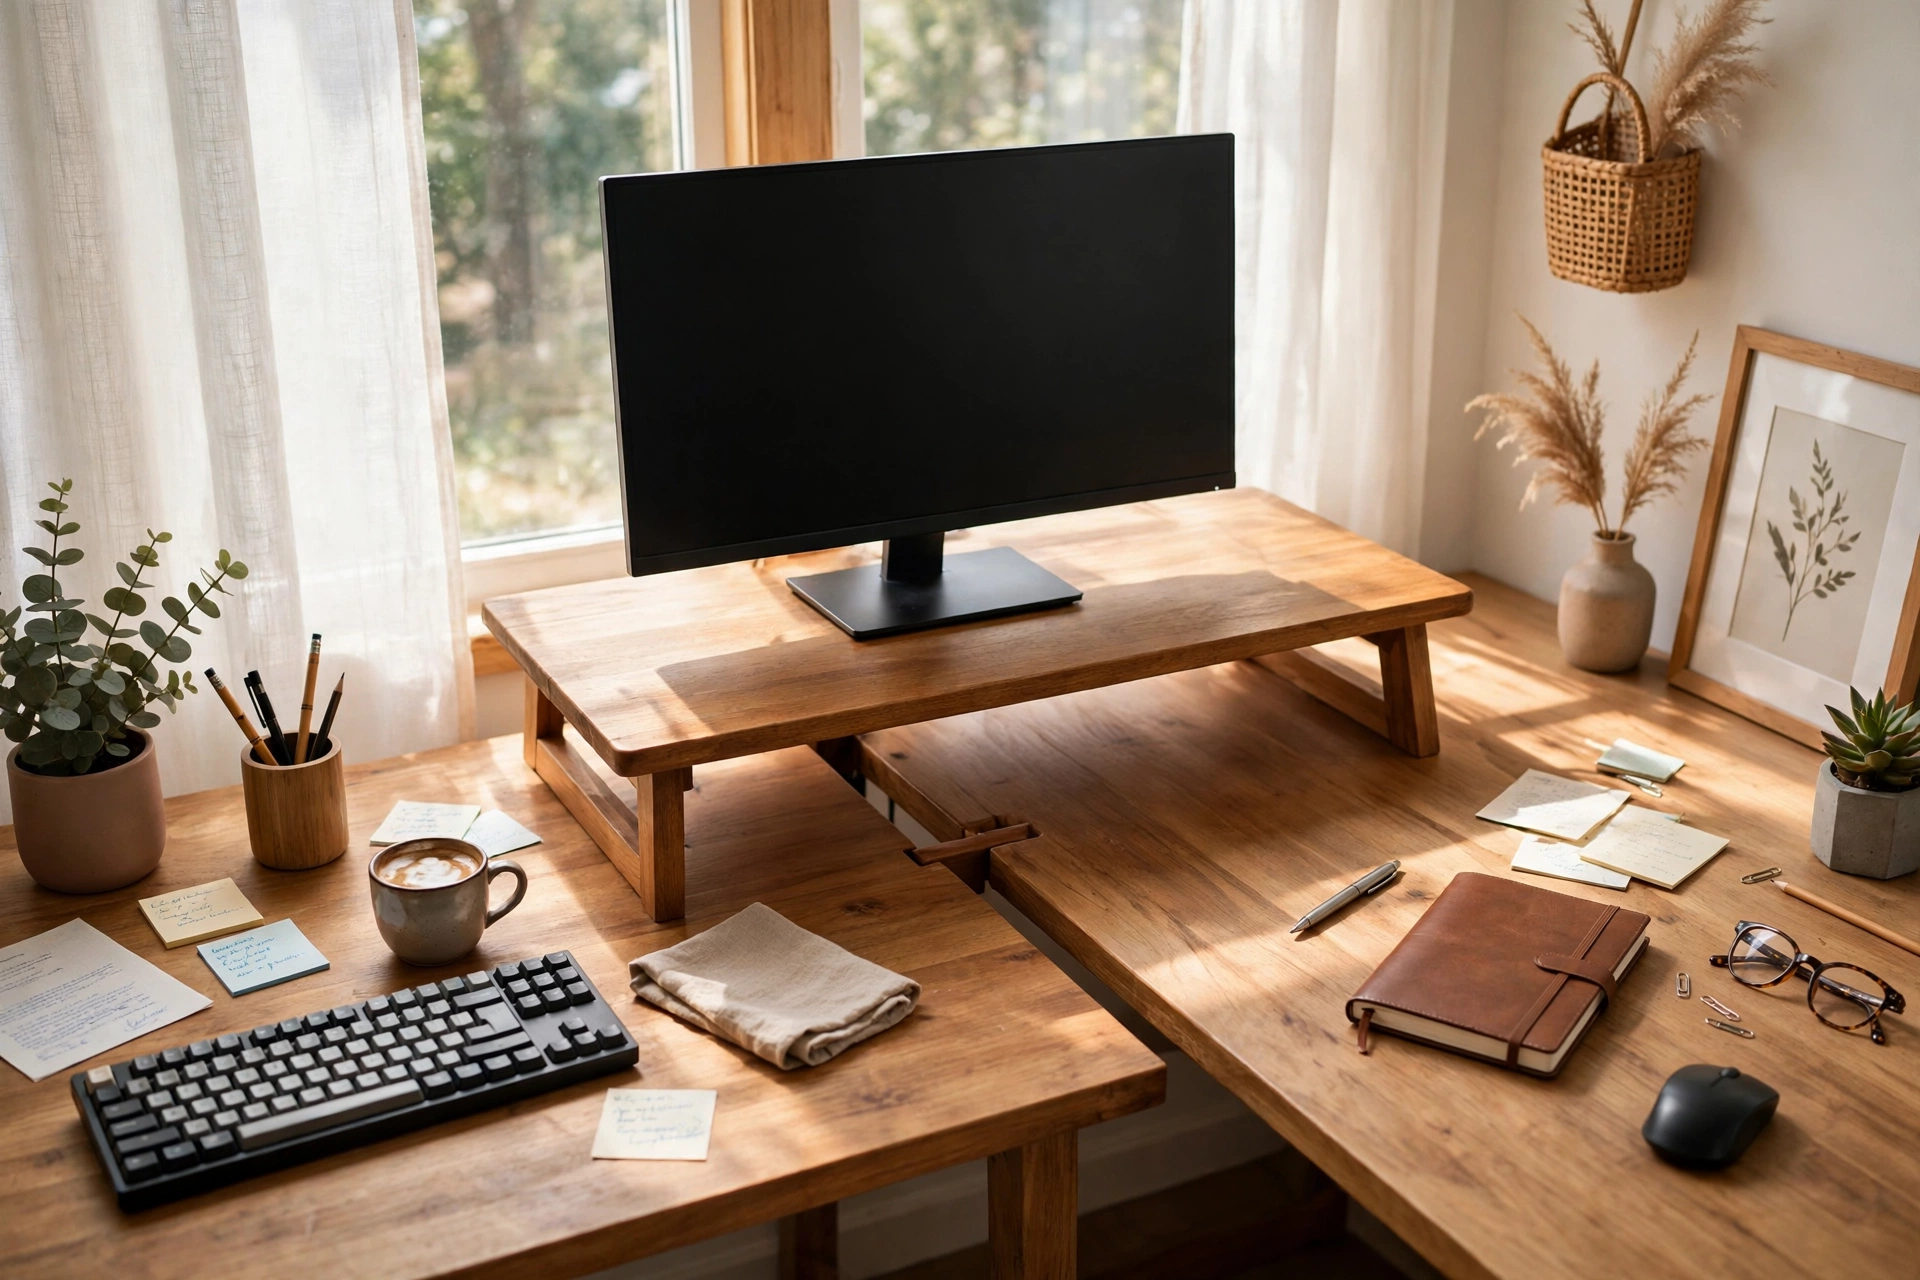
The cleanest method is no fixing at all. Push the two tops together at a right angle, and let their weight and the wall hold them in place. A strip of non-slip matting or a few small felt pads under the meeting edges stops them drifting apart when you lean on the desk. If the tops still shift, a small corner shelf or a monitor riser sitting across the join bridges the two pieces and holds them steady — and gives you a place for a speaker or a controller at the same time.
That bridging piece is doing double duty, and it is worth choosing well. A monitor riser across the join lifts your main screen to eye level and hides the seam underneath. A small corner shelf does the same for the things that do not need to be at hand. Either way, the join disappears under something useful, and the two tops still separate the moment you lift the bridge away.
One thing to avoid: gluing, screwing or bolting the tops together. It feels like the solid option, but it turns two movable pieces into one awkward one — and it leaves marks on wood you may want to resell or return. The whole point of this build is that it comes apart cleanly.
Where to put it: window, wall, or middle of the room
Where to put a desk in a room with a window is the question most people get wrong. A desk in front of a window sounds lovely, and the daylight is genuinely good for your eyes. But a bright window directly behind your monitor causes glare, and a window behind you turns you into a silhouette on video calls. The best desk in front of window ideas put the desk at an angle to the window, or use sheer curtains to soften the light, so you get daylight without fighting it.
If your only free wall is a window wall, try the desk with its long side along the window and the short side along the next wall. You still get the corner shape, and the light comes from the side, which is the kindest direction for a screen.
A desk in the middle of the room is the other option, and it works better than people expect — especially for an L shape, which can act as a room divider. The catch is cables: a desk in the middle of the room has no wall to hide them against, so you need a cable plan before you set it up (see the section below). If you share the room, a freestanding desk in the middle also marks the edge of your gaming zone without a partition.
Two screens on a build with no built-in anything
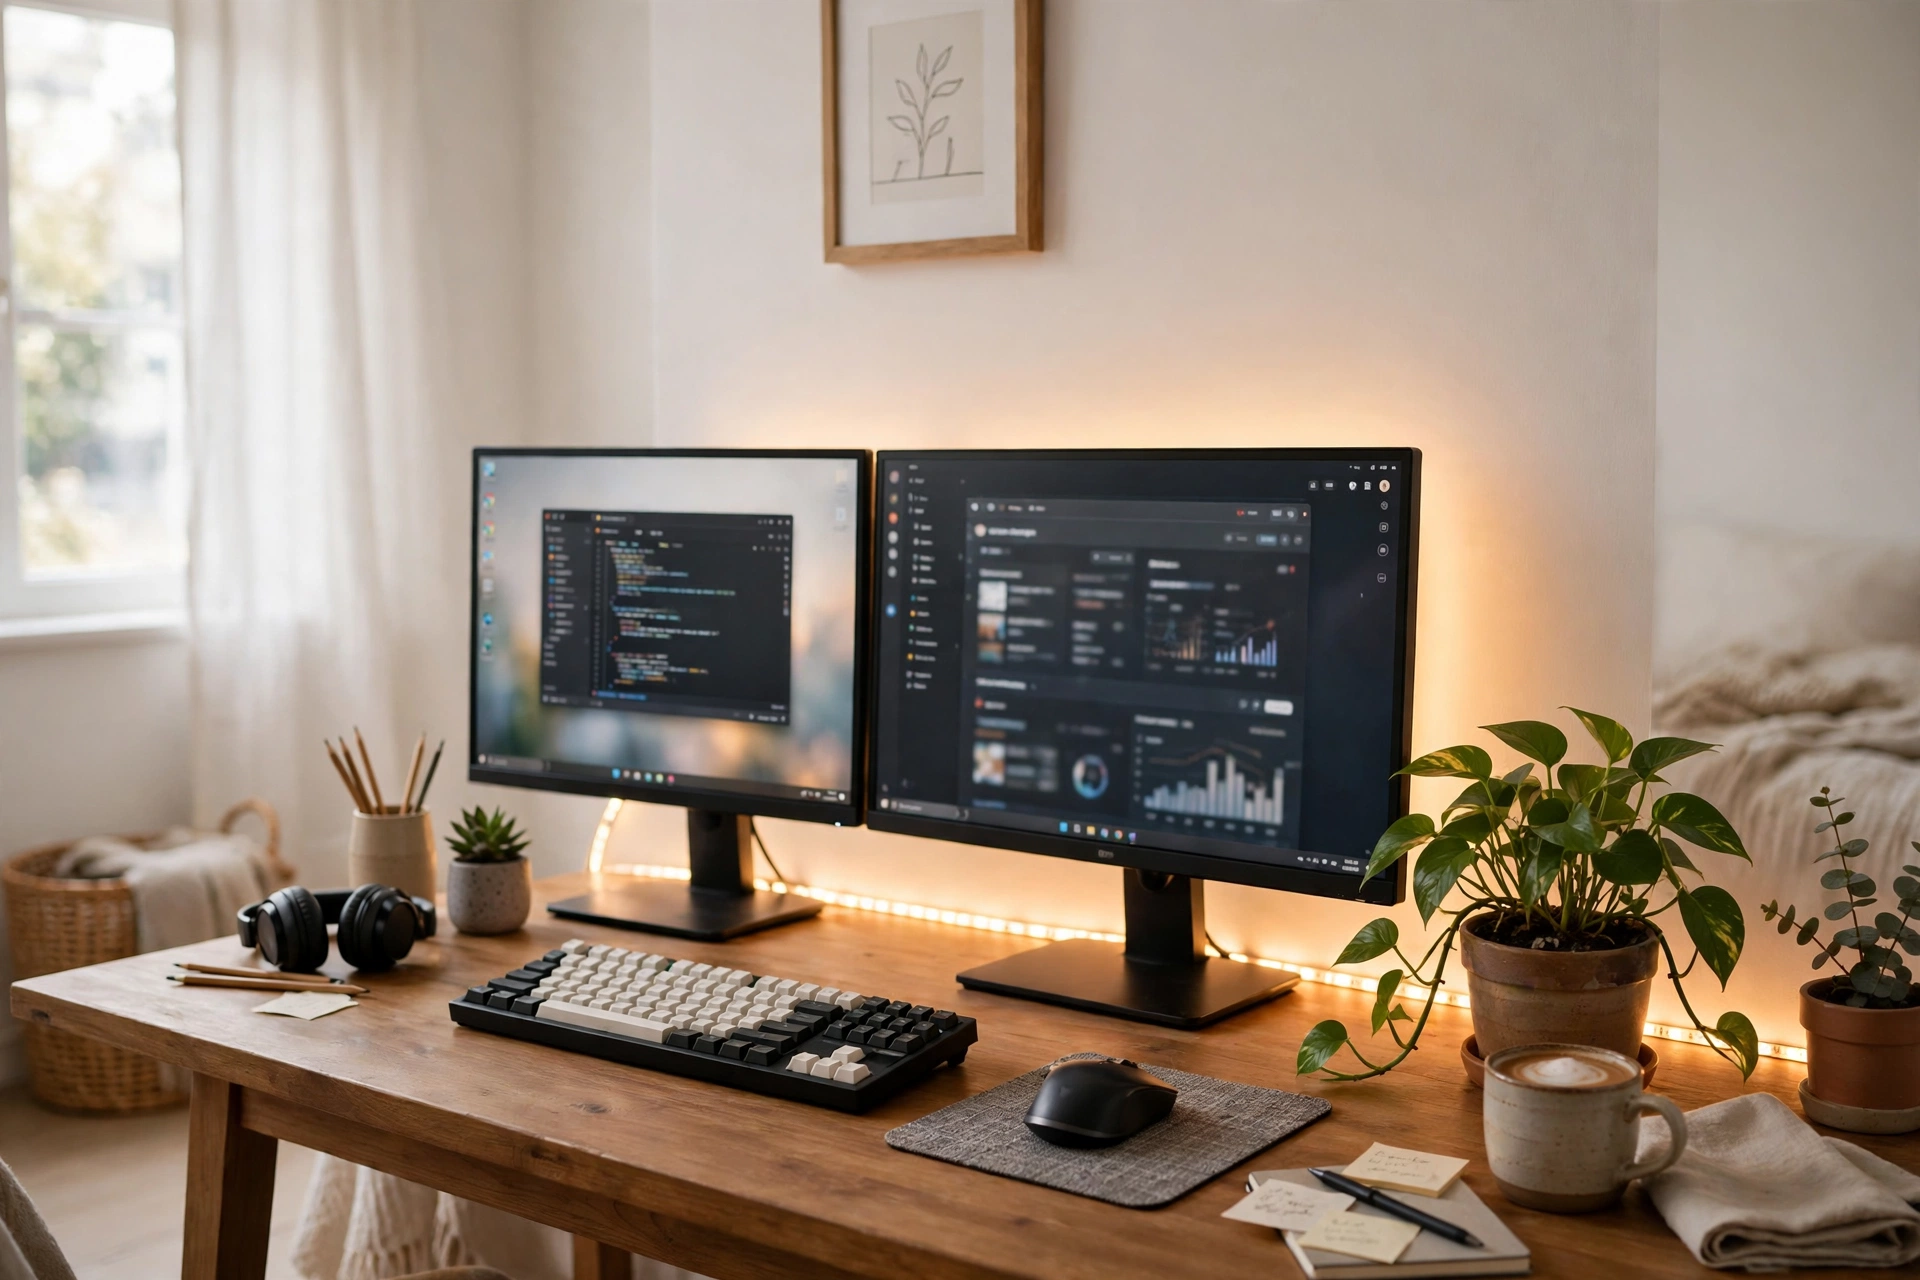
A dual monitor setup is where the L shape earns its keep. Put your main monitor — the one you play on — directly in front of you, at arm’s length, with the top of the screen at about eye level. Put the second monitor on the other arm of the L, angled slightly towards you. That way you turn your head a little to check it, instead of twisting your neck all day.
The corner itself is a good place for a small speaker or a lamp, not for a monitor — a screen tucked right into the corner sits too close and too far to the side at the same time. If your monitors wobble, the desk is probably uneven or the screens are too heavy for their stands. A freestanding monitor arm that clamps to the desk edge is a renter-friendly fix: it holds the screens steady, frees desk space underneath, and leaves no holes in the wall. Check the clamp fits your desk thickness before you buy one.
Think of the two wings as two jobs. The wing you face is the monitor wing: screen, keyboard, mouse, kept mostly clear. The return is the task wing: the console, a notebook, the snacks, the headset stand. Because it sits to your side, you can swivel to it without crowding the screen.
Cables on a build with no built-in channels
A bought corner desk often hides cables for you — channels, trays, a power hub in the frame. A DIY build hides nothing, so the cables need a route you plan yourself. An L shaped desk has more cables than a straight one: two monitors, a PC, a keyboard, a headset, a charger, and lights.
Run them along the back edge of the desk first, then down one leg. Cable clips that stick to the desk with removable adhesive hold them in place and peel off at move-out. A short cable tray or a fabric sleeve under the desk keeps the bundle together and out of sight from the front. Keep the power strip on the desk leg or under the desk top, not on the floor where a chair wheel can catch it.
For the run from the desk to the wall socket, use the shortest route and keep the cable flat against the floor. A flat cable cover that lies on the floor, or a cable routed behind a rug edge, stops it becoming a trip hazard. Never run a cable across a doorway, and never trap one under a heavy piece of furniture.
Do the final check from the chair: sit down, look at the desk, and confirm you cannot see a single cable from your seating position. If you can, it is still in the way.
Light it like a gaming corner, not a cave
Lighting is what turns a desk into a gaming corner. Removable LED strips along the back edge of the desk or behind the monitors give a soft glow without a single screw — they stick with removable adhesive and peel off cleanly. Keep the glow warm or soft, not harsh: a strip that is too bright reflects in the screen and tires your eyes.
One warm desk lamp on the second arm of the L gives you light for everything that is not on screen, like reading notes or finding a controller. If your room has white walls, warm light and warm wood will do most of the work of making the corner feel finished — the same layering idea that works for the rest of a rental room.
Avoid pointing any light directly at the screen, and avoid working in a dark room with only the monitor lit. Your eyes will thank you after a long session.
Taking it apart at move-out
The test of a renter-friendly build is the last day, not the first. A good DIY L desk comes apart in minutes: lift the riser off the join, slide the two tops apart, peel off the adhesive clips and LED strips slowly — straight down along the wall, never yanked outward — and the room is back to how you found it.
Keep the things you reach for most — water, headphones, controller — within arm’s reach on the second arm of the desk, so you are not twisting to grab them mid-game. And keep the original monitor stands, so the setup can go back to two separate desks whenever you need it to.
FAQ
Is a DIY L shaped desk worth it in a rental?
For most renters, yes — two matching desk tops pushed together at a right angle give you the L shape with nothing fixed to the wall, and they separate in seconds when you move.
How do I join two desk tops without damaging them?
Do not screw or glue them. Push them together, use non-slip matting or felt pads under the meeting edges, and bridge the join with a monitor riser or a small corner shelf. Lift the bridge away and the tops separate cleanly.
What if the two tops are different heights?
A few millimetres can be fixed with a thin felt pad under the shorter top’s legs. More than a centimetre means the tops do not belong together — find a better match instead of forcing it.
Do I need to drill anything for a dual monitor setup?
No. A freestanding monitor arm that clamps to the desk edge holds two screens steady without wall fixings, and it comes off cleanly at move-out. Check the clamp fits your desk thickness first.
How do I hide cords if my desk is in the middle of the room?
Clip cables along the back edge of the desk and down one leg, bundle them in a sleeve or tray under the desk, and run the power cable flat to the nearest socket. Keep cables out of doorways and away from chair wheels.



One Thought on “L Shaped Desk DIY: Build a Renter-Friendly Gaming Corner From Two Desk Tops”