

Vice City has a look you can recognise from across the room: hot pink neon, deep teal water, purple dusk, palm trees against a pastel sky. GTA 6 is bringing that look back on 19 November, and you do not need to repaint a wall or drill a single hole to borrow it.
Removable LED strips and a small neon-style sign can give a rental bedroom the whole Vice City glow in one evening. The trick is placement, not quantity: hide the strip, show the glow, and let one or two colours do the work. This guide shows where the light goes, how to keep it soft instead of harsh, how to hang a sign without drilling, and how to take it all down cleanly when you move.
Table of Contents
[Hide]- The Vice City palette: pink, teal, purple
- Where the glow goes: behind the monitor, shelf edge, ceiling line
- Warm vs harsh light: how to keep neon soft
- A neon sign without drilling
- Removing it cleanly at move-out
- FAQ
- Where should LED strips go in a gaming room?
- What colours should I use for a Vice City look?
- How bright should gaming LED strips be?
- Can I hang a neon sign in a rental without drilling?
- How do I remove LED strips without damaging paint?
The Vice City palette: pink, teal, purple

Start with three colours and stop there. Hot pink is the Vice City signature — the neon signs, the sunset, the whole 80s Miami mood. Teal is its partner, the ocean and the night sky after dark. Purple is the bridge between them, the dusk colour that softens the contrast.
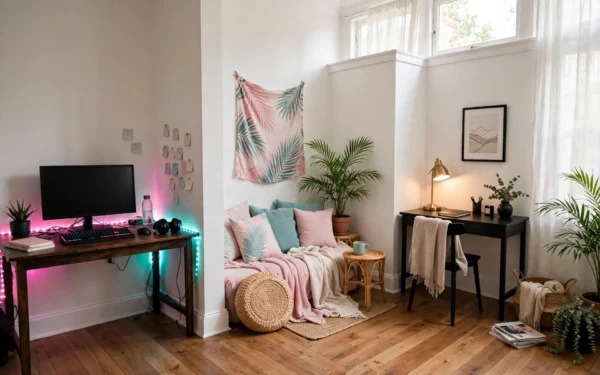
Use pink as the main glow, teal as the second zone, and purple sparingly — a shelf edge, a corner, or a slow blend between the two. Three colours in balance look like a designed room. Every colour at once looks like a shop window.
Keep the rest of the room calm so the palette has somewhere to land. White walls are the best background for neon: the pink and teal read clearly against a pale wall, and the room still feels bright in daylight when the strips are off. Warm wood — a desk top, a shelf, a chair — keeps the neon from feeling cold. If the room already has warm neutrals, you do not need to change anything else; the light does the theming.
One more rule: save the rainbow mode for a party. A constantly shifting wall is fun for a few minutes and tiring for a three-hour session. A steady pink behind the screen and a steady teal along the desk is the look you will still like in a month.
Where the glow goes: behind the monitor, shelf edge, ceiling line

The best gaming-room lighting is rarely the brightest thing in the room. It is the glow you notice when the screen powers on. The rule for every placement is the same: hide the strip, show the glow. When you can see the individual dots, the light looks unfinished. When you see only the colour washing the wall, it looks expensive.
Start with the screen, because that is where your eyes spend the most time. Run a strip around the back of the monitor, about an inch in from the edge, on three sides — top, left and right — and leave the bottom open if the stand or cables make it awkward. The strip creates bias lighting: a soft halo that brightens the wall behind the screen, cuts the harsh contrast between a bright panel and a dark room, and makes late sessions easier on the eyes. Set it to roughly half the brightness of the screen, in pink or a low-saturation teal, and the wall glows without hijacking the image.
Next, the desk. The underside of the desk is the easiest place to make a setup feel finished: a strip along the rear edge, facing the wall, gives a soft backdrop behind the desk. If the desk has an open front and you want a floating effect, add a second strip under the front lip, aimed down — but keep it dimmer than the rear strip, or it reflects off the floor and the desk mat. For an L-shaped desk, light the side you actually look at; lighting every edge in a small room is one zone too many.
Then the shelf edge. A floating shelf is perfect for a quiet line of light: a strip under the front edge, facing down onto books, game cases or small objects, turns the shelf into a display without taking desk space. The same trick works under a monitor riser — a strip beneath the rear edge adds depth behind the keyboard, and one under the front edge gives the desk surface a subtle glow. Pick one direction if the desk is tight; both at full brightness can make a small desk feel crowded.
Finally, the ceiling line. For one accent wall, run a strip along the upper edge where the wall meets the ceiling, facing up. It gives a wide, indirect wash of colour across the ceiling and down the wall — the strongest look in the room, so save it for the wall behind the desk and only if the ceiling is reasonably clear. Never put a bare strip at eye level unless it sits inside a diffuser channel; at eye level, every diode becomes part of the design, and that is rarely the good choice.
Two or three zones is the right number. Start with the bias light behind the monitor, add the desk or shelf glow, then decide whether the wall or floor needs one more layer — and stop before every surface starts demanding attention.
Warm vs harsh light: how to keep neon soft
Neon done badly is the reason people give up on LED strips: too bright, too saturated, shining straight into eyes or onto a glossy screen. The fixes are all small.
First, brightness. Start at 20 to 40 percent and adjust after the room has been dark for a few minutes — your eyes need time to vote. A full-blast strip looks great in a photo and feels very different during a three-hour session. Dimmer than you think is almost always right.
Second, direction. Light should bounce off a wall, a ceiling or a shelf and reach you as reflected glow, never as bare diodes in your line of sight. Before sticking anything down, sit in your chair and check the angle: if you can see the dots directly, move the strip further back or turn it toward the wall. One minute of sitting in the chair saves an evening of re-sticking.
Third, balance. Neon is the accent, not the only light in the room. One warm desk lamp on the second arm of the desk, or a warm floor lamp in the corner, keeps the room from feeling like a cave. Warm light and neon light together is what makes the corner feel cosy instead of cold — the same layering idea that works for the rest of a rental room. And avoid playing in a dark room with only the monitor lit; your eyes will thank you, and the corner will look better in every photo.
Fourth, match the light to how you play. For fast, competitive games, keep the palette simple and the motion effects off — a stable cool colour behind the display helps the room feel focused. For a long story session in Vice City, warmer ambers, deep blues and slow gradients build more atmosphere. If your monitor is carefully set up for colour-accurate work, keep a neutral white behind the display and save the bold pink and teal for the desk, the shelves or the far wall, so the wall colour does not change how your eyes read the screen.
A neon sign without drilling
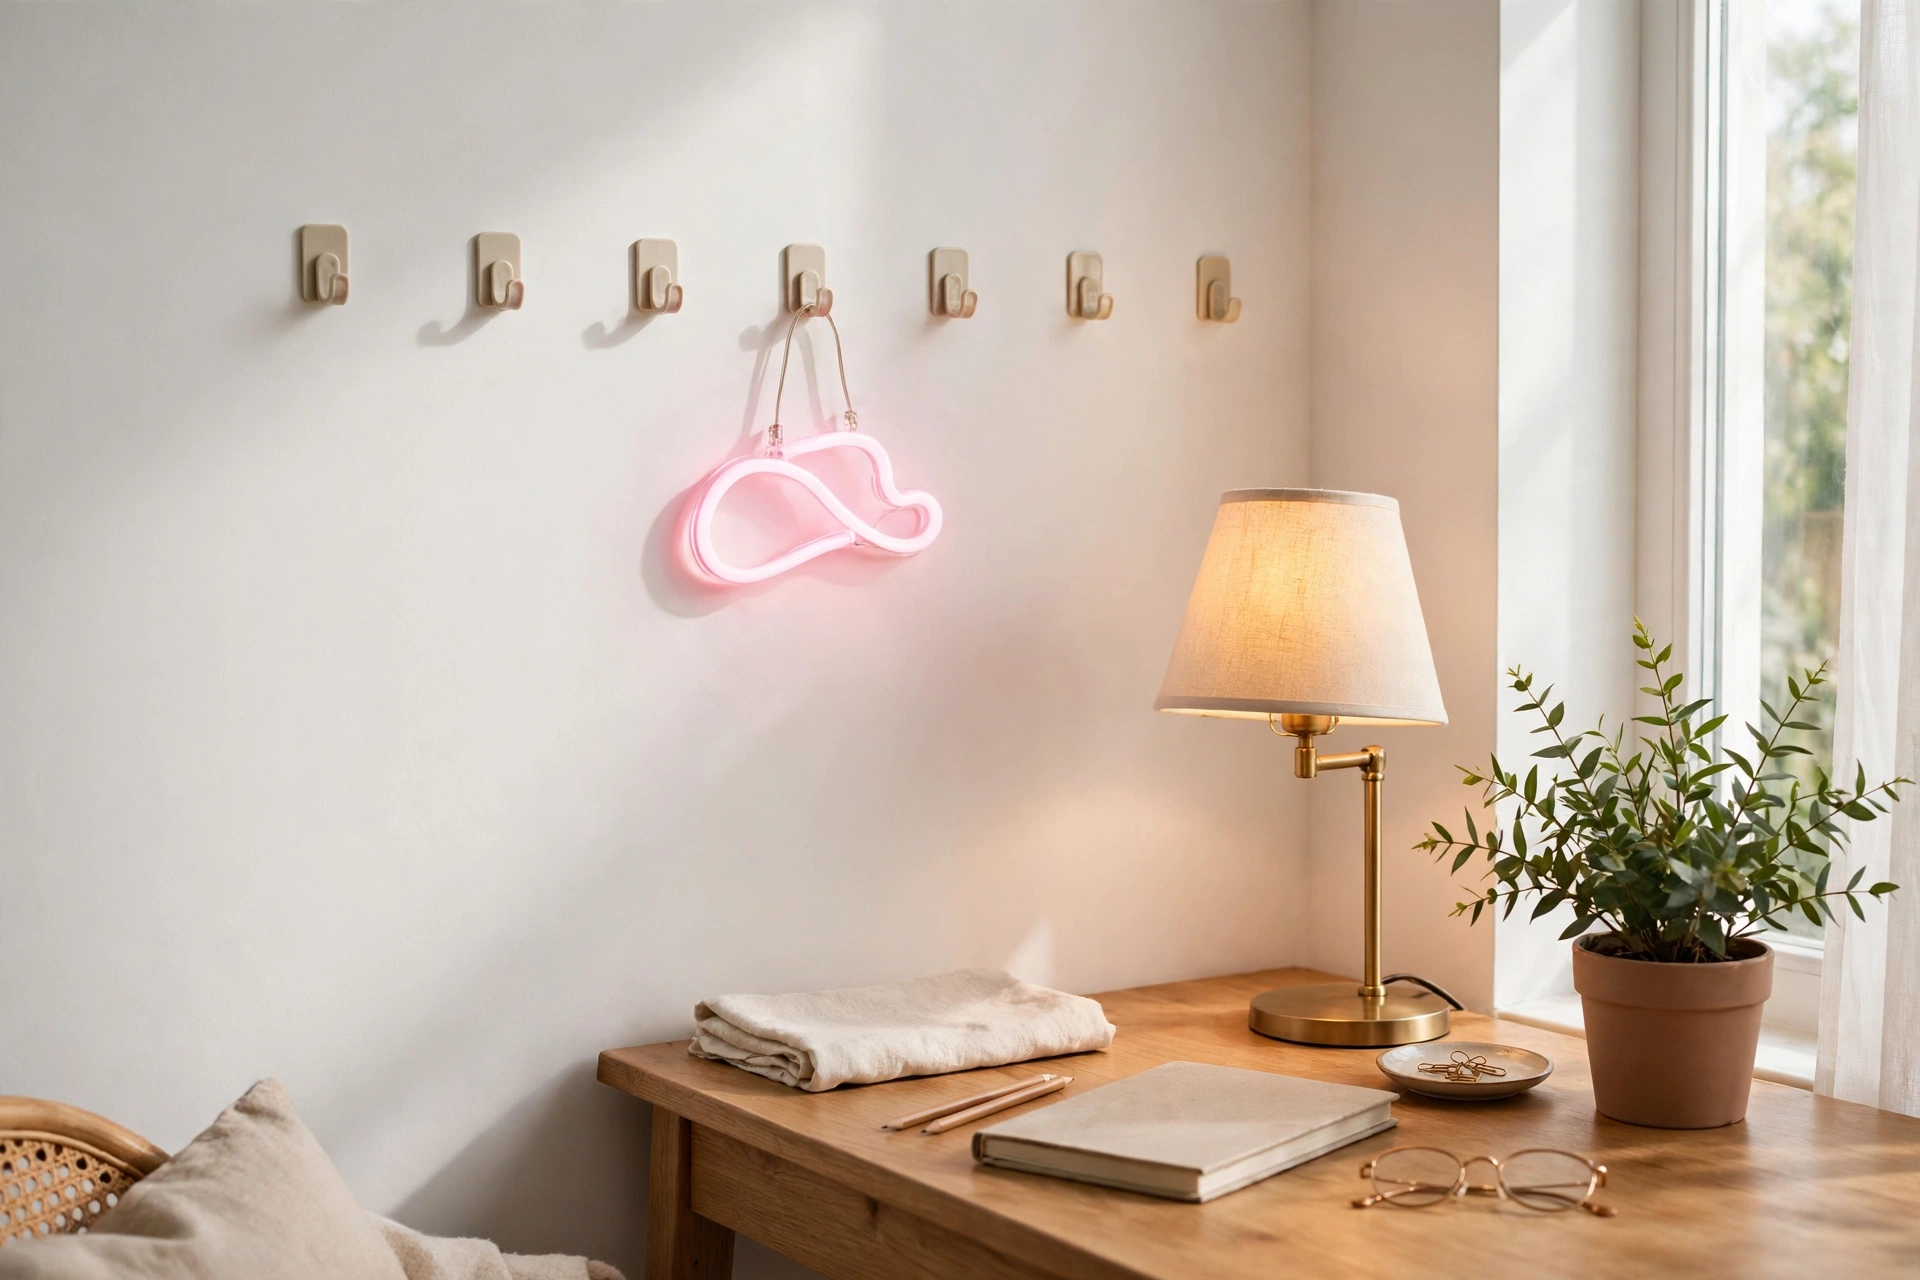
One small neon-style sign is the finishing touch — a short word, a palm tree, a simple shape in pink or teal above the desk or on the wall beside it. Modern LED neon signs are light, low-heat and made for exactly this: an acrylic backboard with the tubing on it, powered by USB, that hangs like a picture.
For a rental, the mounting is the whole question, and there are four no-drill ways to do it. Heavy-duty adhesive strips or hooks rated above the sign’s weight work on smooth, clean walls for lightweight signs — clean the wall first, let it dry, use at least two mounting points so the sign stays level, and wait the full curing time the adhesive asks for before hanging. A picture ledge or a shelf lets the sign lean instead of hang, which suits heavier signs and leaves the wall untouched. A hanging kit can suspend it from an existing ceiling hook or a sturdy shelf support. And a freestanding frame on the desk or a dresser skips the wall entirely.
Know the limits honestly. Adhesive does not hold on textured walls, dusty paint or damp surfaces, and it should never be trusted with a heavy sign or real glass neon. If the sign feels heavy or fragile, lean it or frame it instead of sticking it. And keep the sign away from bedding and curtains, and never hang it from the LED tubing itself — always from the backboard or frame.
Choose the size for the room, not the photo. A smaller sign is easier to mount without drilling, easier to pack, and easier to reuse in the next home — and in a small bedroom it adds character without overwhelming the wall.
Removing it cleanly at move-out
The point of removable light is that it actually removes. Plan the exit when you install, not when the lease ends.
For LED strips, the weak point is the adhesive, not the strip. Warm the strip gently with a hair dryer on low before peeling, pull slowly along the wall rather than straight out, and clean any residue with a soft cloth. If a strip has been up for months in a warm room, expect the adhesive to fight back — patience and warmth beat force, and force is what takes paint with it. Route the power cable first, before sticking anything down, so the strip’s cable has one clean path to the outlet and you are not tugging at it later. And keep the controller somewhere you can reach it, not buried behind the desk.
For a neon sign on adhesive strips, disconnect the power first, then remove the strips slowly in the direction the instructions give — usually straight down along the wall, not pulled outward. If a strip resists, warm it gently the same way. For a sign on hooks, lift it off, then remove the hooks the same slow way.
Pack the strips loosely coiled, not folded hard at a corner — sharp bends damage the circuit, and a strip that worked for a year can fail from one hard fold at moving time. Coil the sign’s cable separately. Everything you installed in an evening should come down in an evening, and the wall behind it should look like you were never there.
FAQ
Where should LED strips go in a gaming room?
Behind the monitor first, then under the desk lip or shelf edge, then one accent wall at the ceiling line. Hide the strip and show the glow — never place bare diodes where you can see them directly.
What colours should I use for a Vice City look?
Pink as the main glow, teal as the second zone, purple sparingly as a bridge. Keep the rest of the room warm and neutral so the neon has a calm background.
How bright should gaming LED strips be?
Start at 20 to 40 percent brightness and adjust after a few minutes in the dark. Dimmer than you think is almost always right, and the bias light behind the monitor should sit at roughly half the screen’s brightness.
Can I hang a neon sign in a rental without drilling?
Yes, if the sign is a lightweight LED neon sign on a smooth, clean wall — use heavy-duty adhesive strips or hooks rated above its weight, with at least two mounting points. For heavy signs or textured walls, lean it on a shelf or frame it instead.
How do I remove LED strips without damaging paint?
Warm the strip gently, peel slowly along the wall, and clean any residue with a soft cloth. Never yank a strip straight off the wall, and coil it loosely for the move — sharp folds damage the circuit.



One Thought on “Vice City Neon: Get the GTA 6 Glow With Removable LED Strips”